Nourishing Zen

Nourishing YOU. Adventures to Healthy, Happy, and a Fulfilling Life! Food is our medicine.


Leave a comment

Oven-Roasted Chickpeas: A Crunchy… Salty.. HEALTHY snack!


If you’re like me, and LOVE salty, crunchy delicious snacks, then this is the snack for you. Often times I have difficulty finding the right snack that doesn’t overload your body with salt, fat, grease, or carbohydrates.

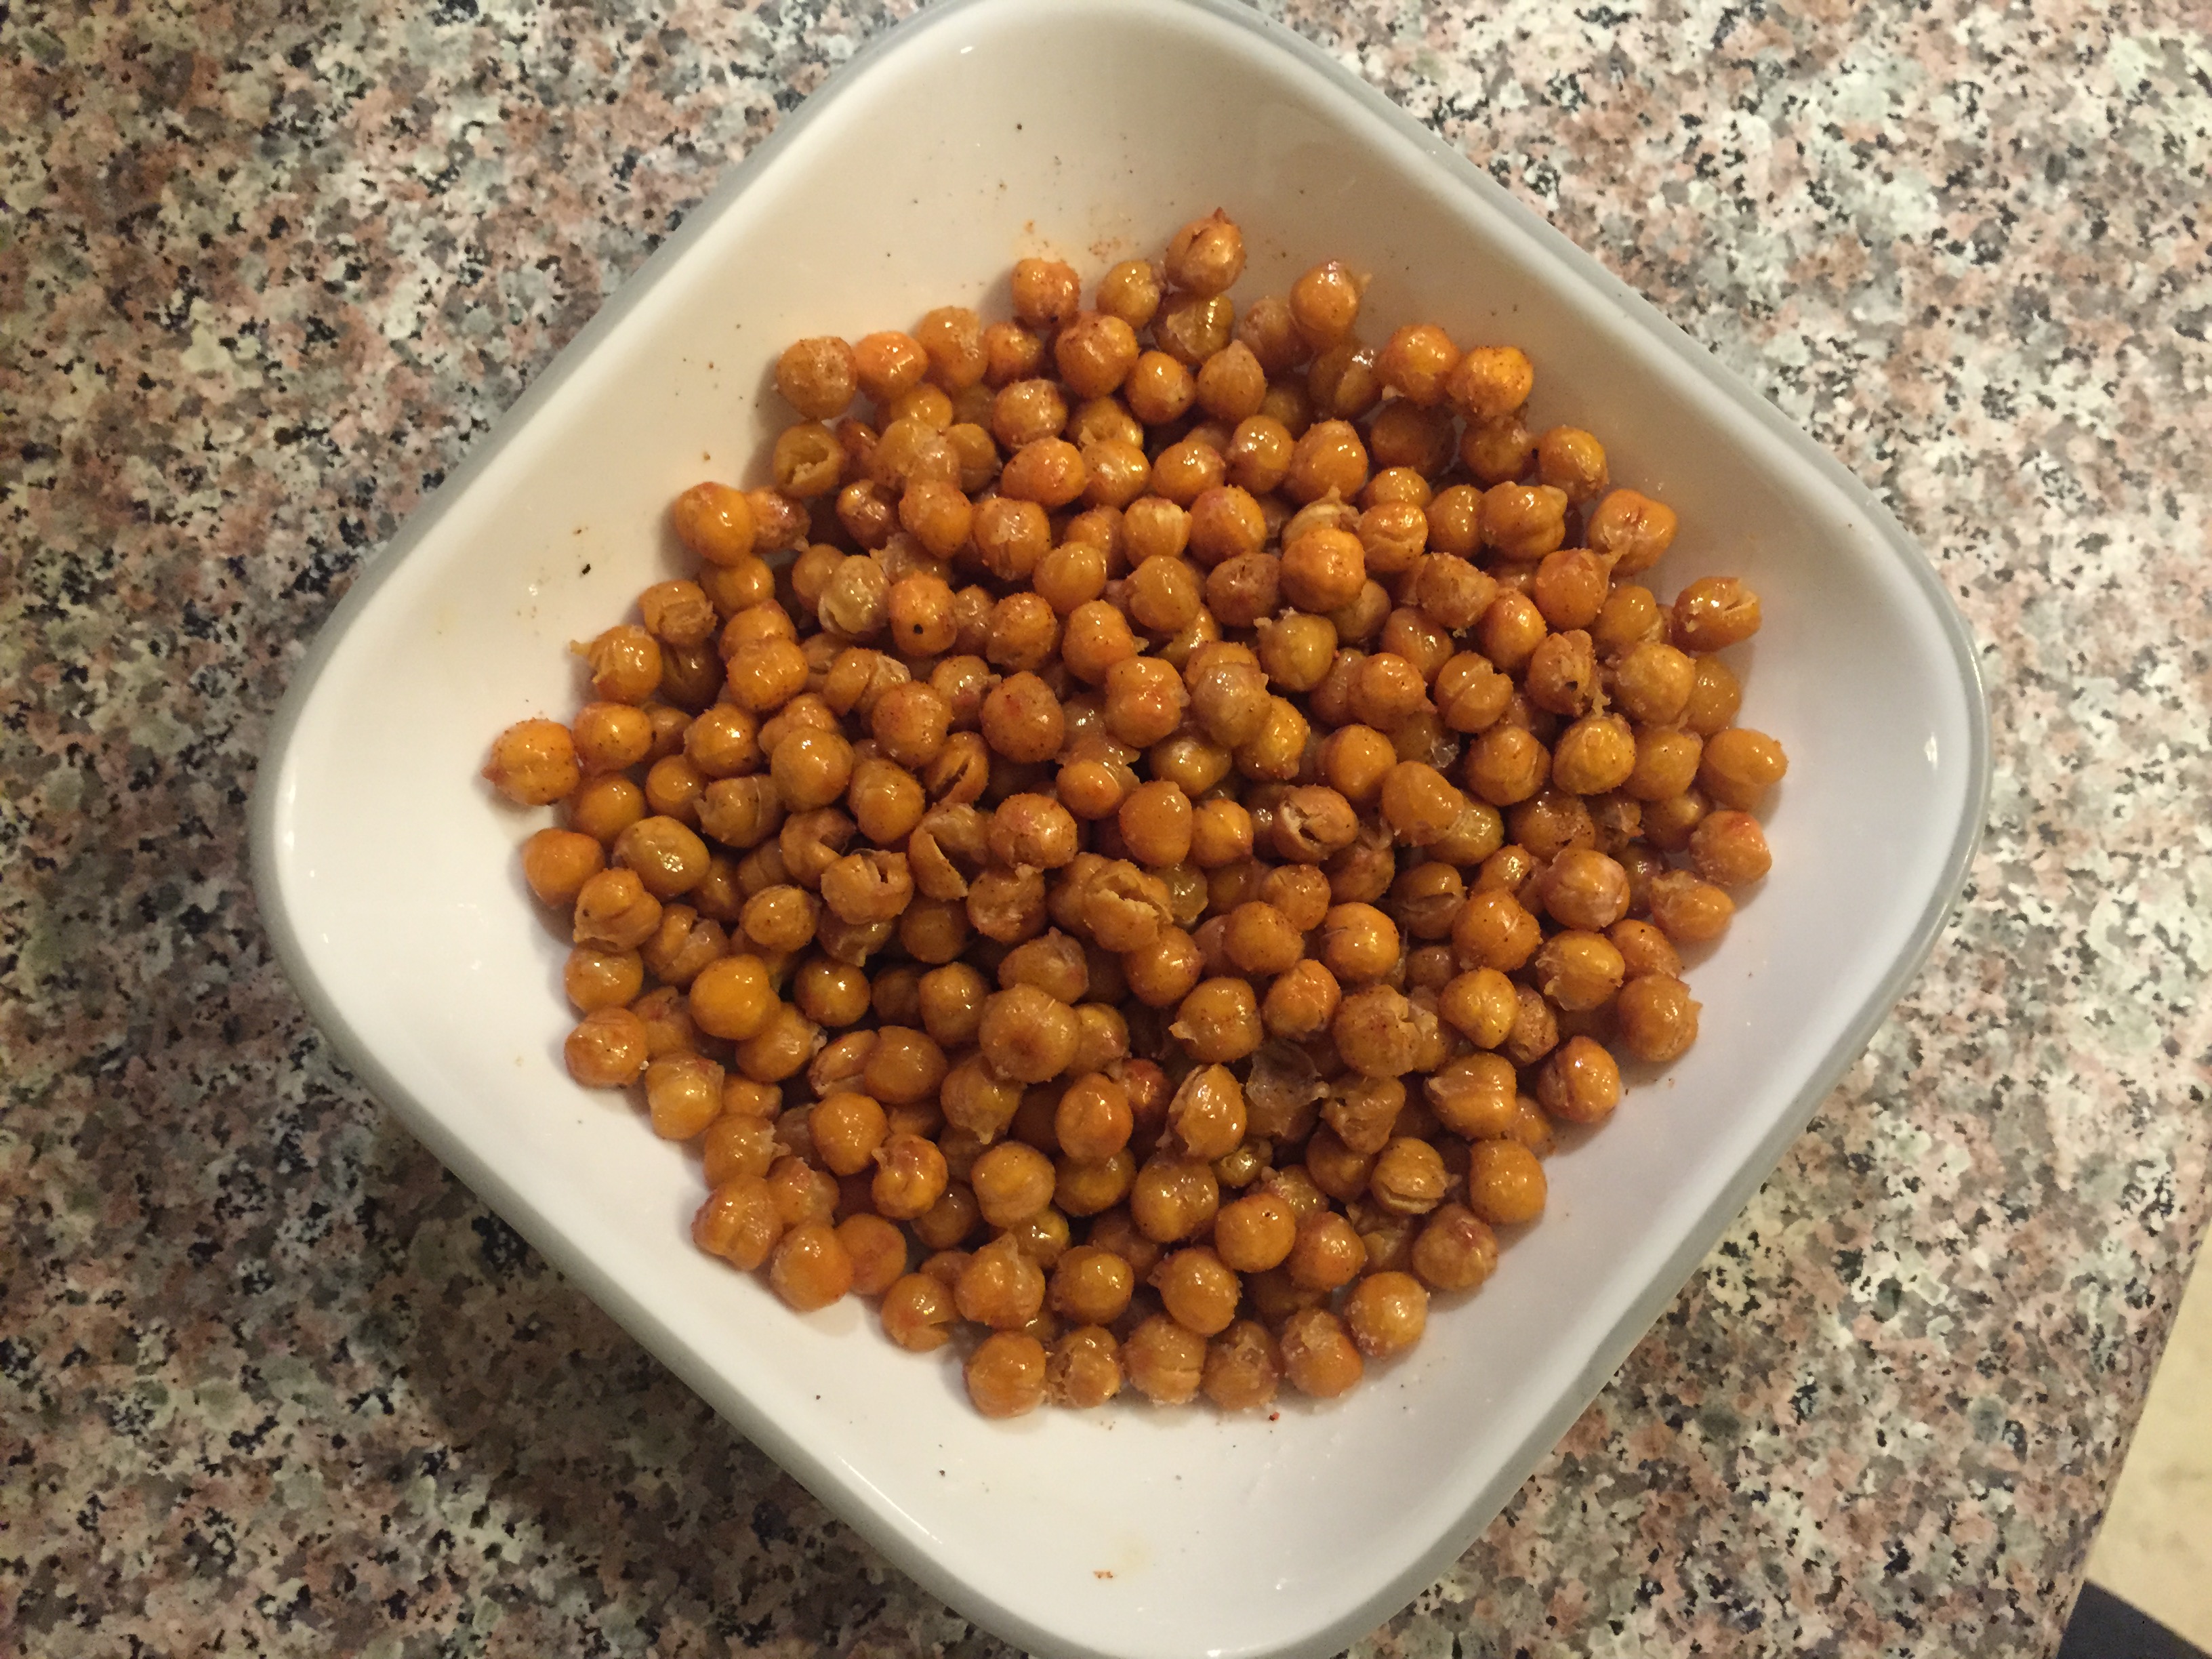
This recipe is for Oven Roasted Chickpeas.
Carbohydrates: 18 per 1/2 uncooked beans
Calories: 120

IMG_3490

It is easy, and addicting once you make it!

Here’s what ingredients you’ll need:

-2 Cans of Garbanzo Beans. I usually use the Whole Foods 365 Organic, no salt added ones.
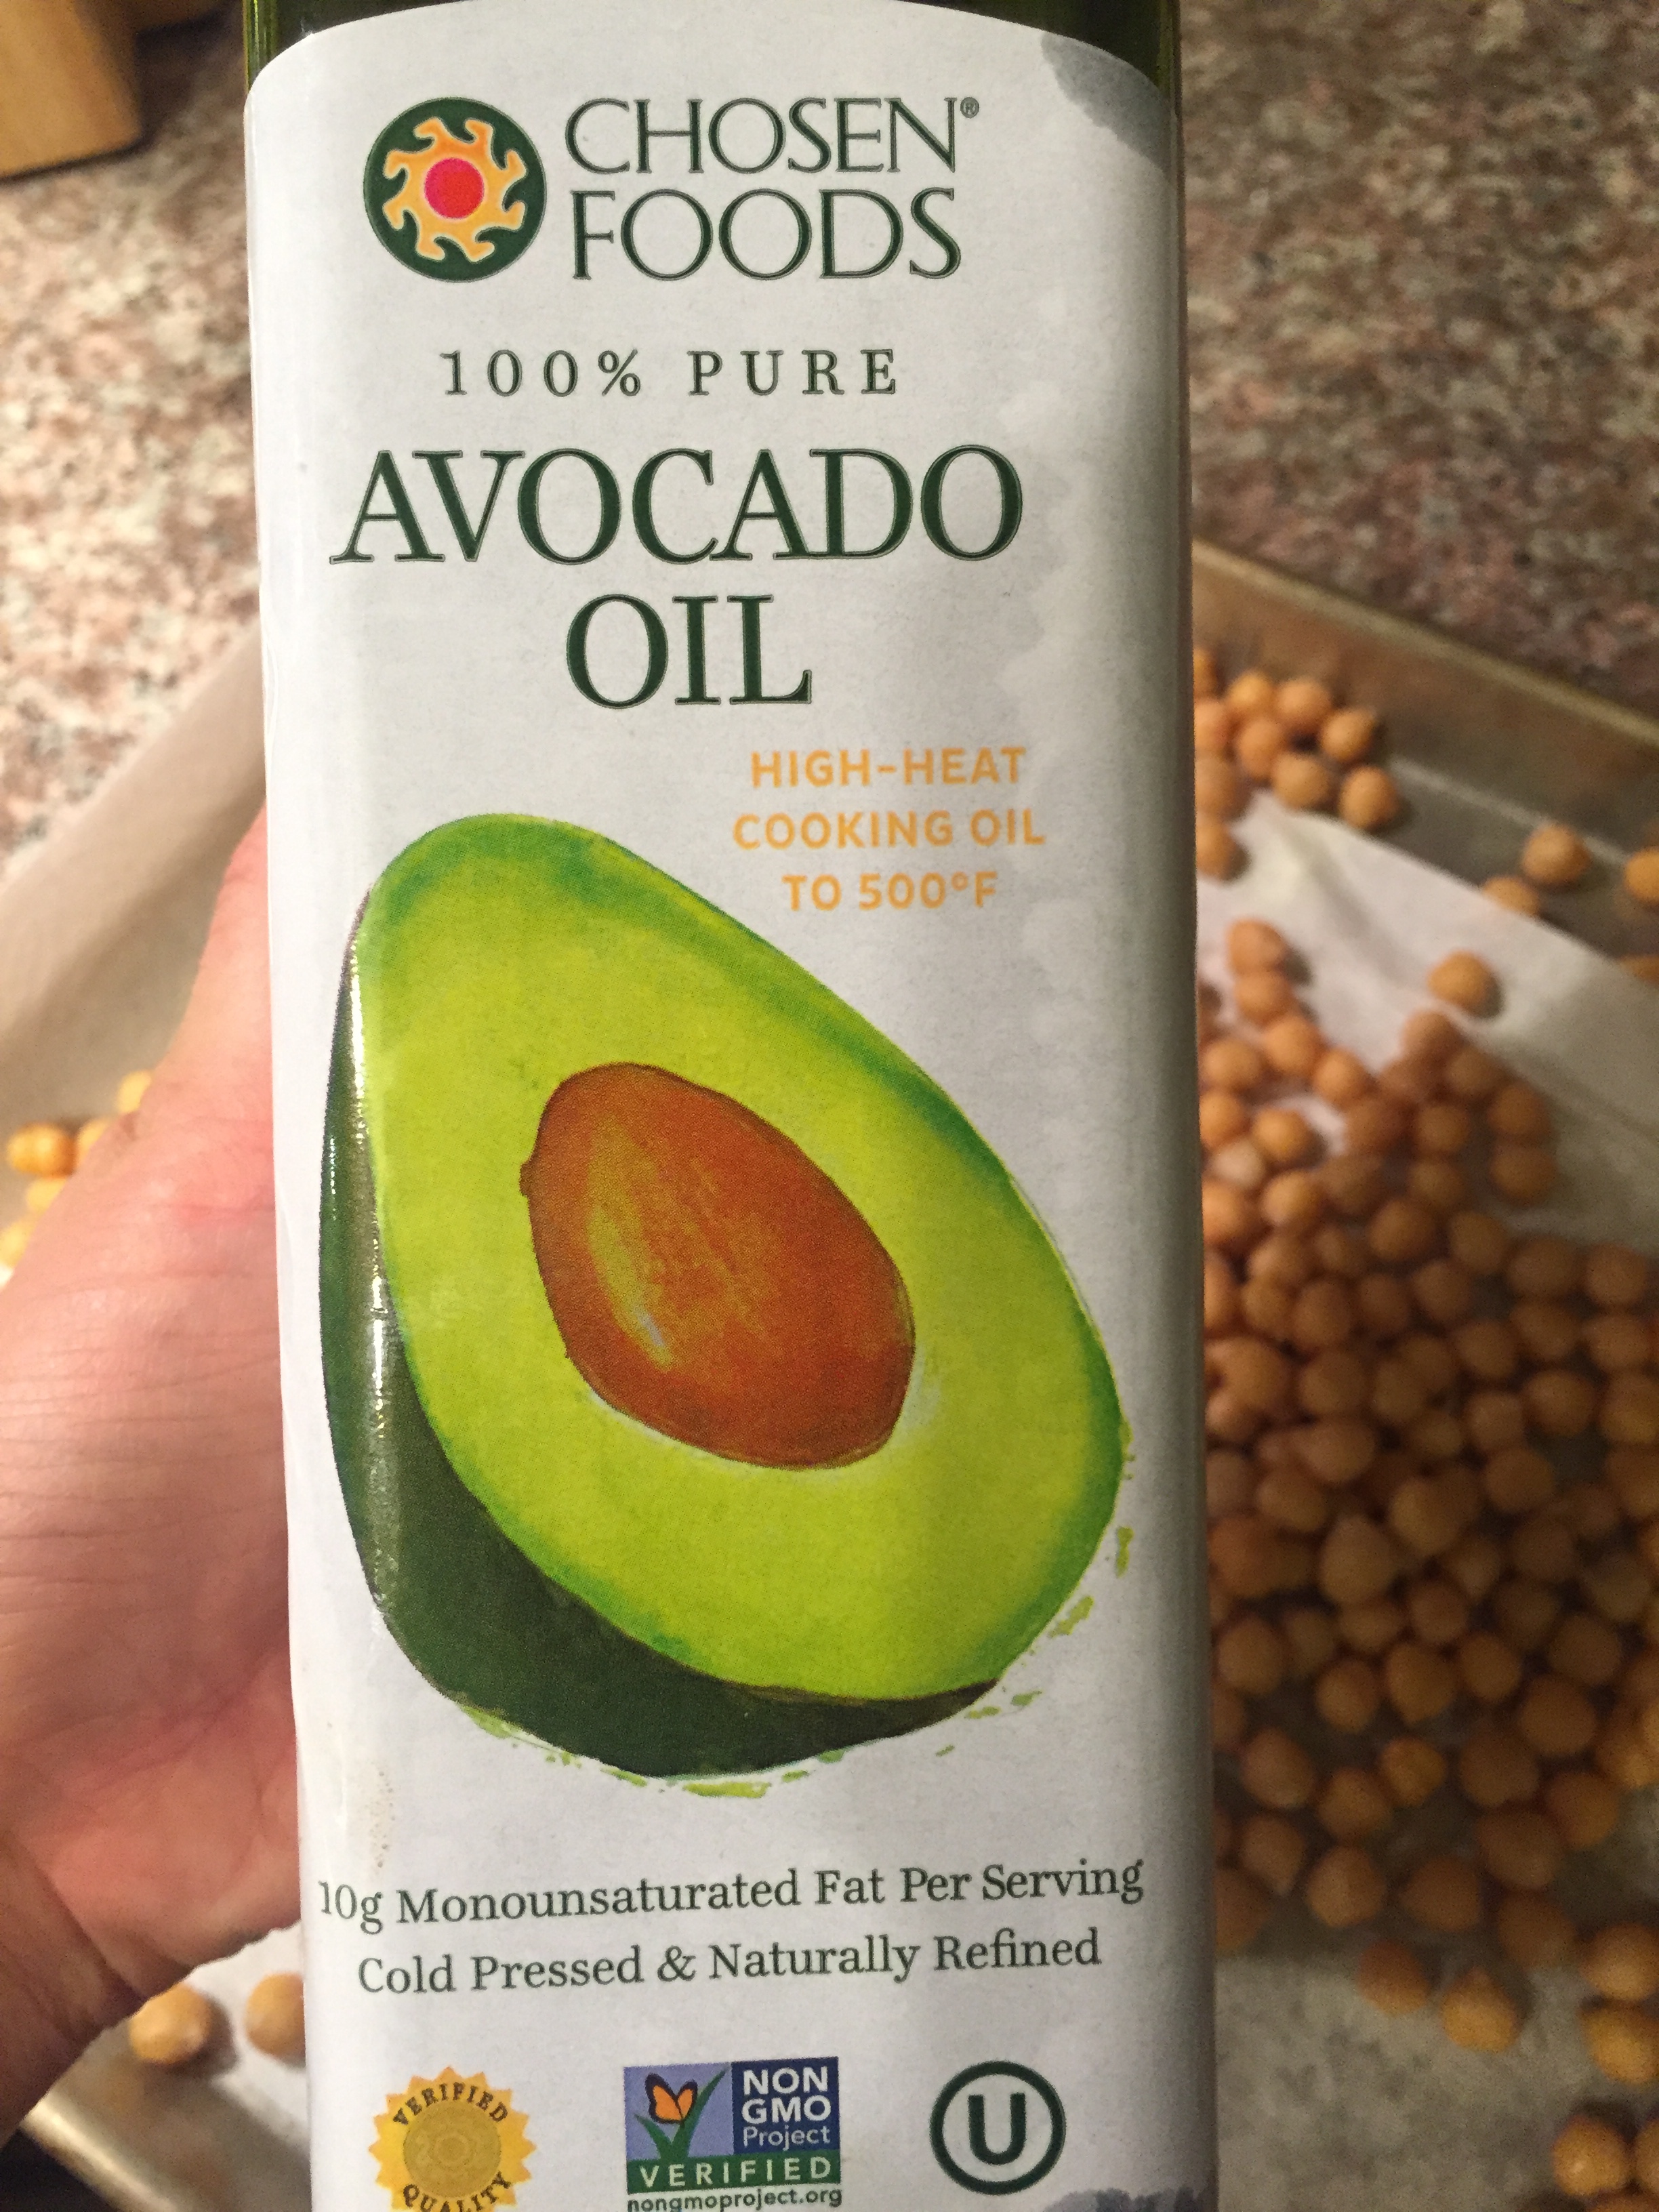
-2 Tablespoons of Olive/Avocado/Coconut Oil (Or whatever kind you prefer)
-Sea Salt (to taste)
-Any additional seasonings you love such as seasoned salt, ground herbs, cajun seasoning, cayenne pepper etc.

Here’s what kitchen tools you’ll need:

-Cookie Sheet
-Strainer
-Paper towels
-Bowl large enough to fit the beans
-Spoon

Here’s how to make it:

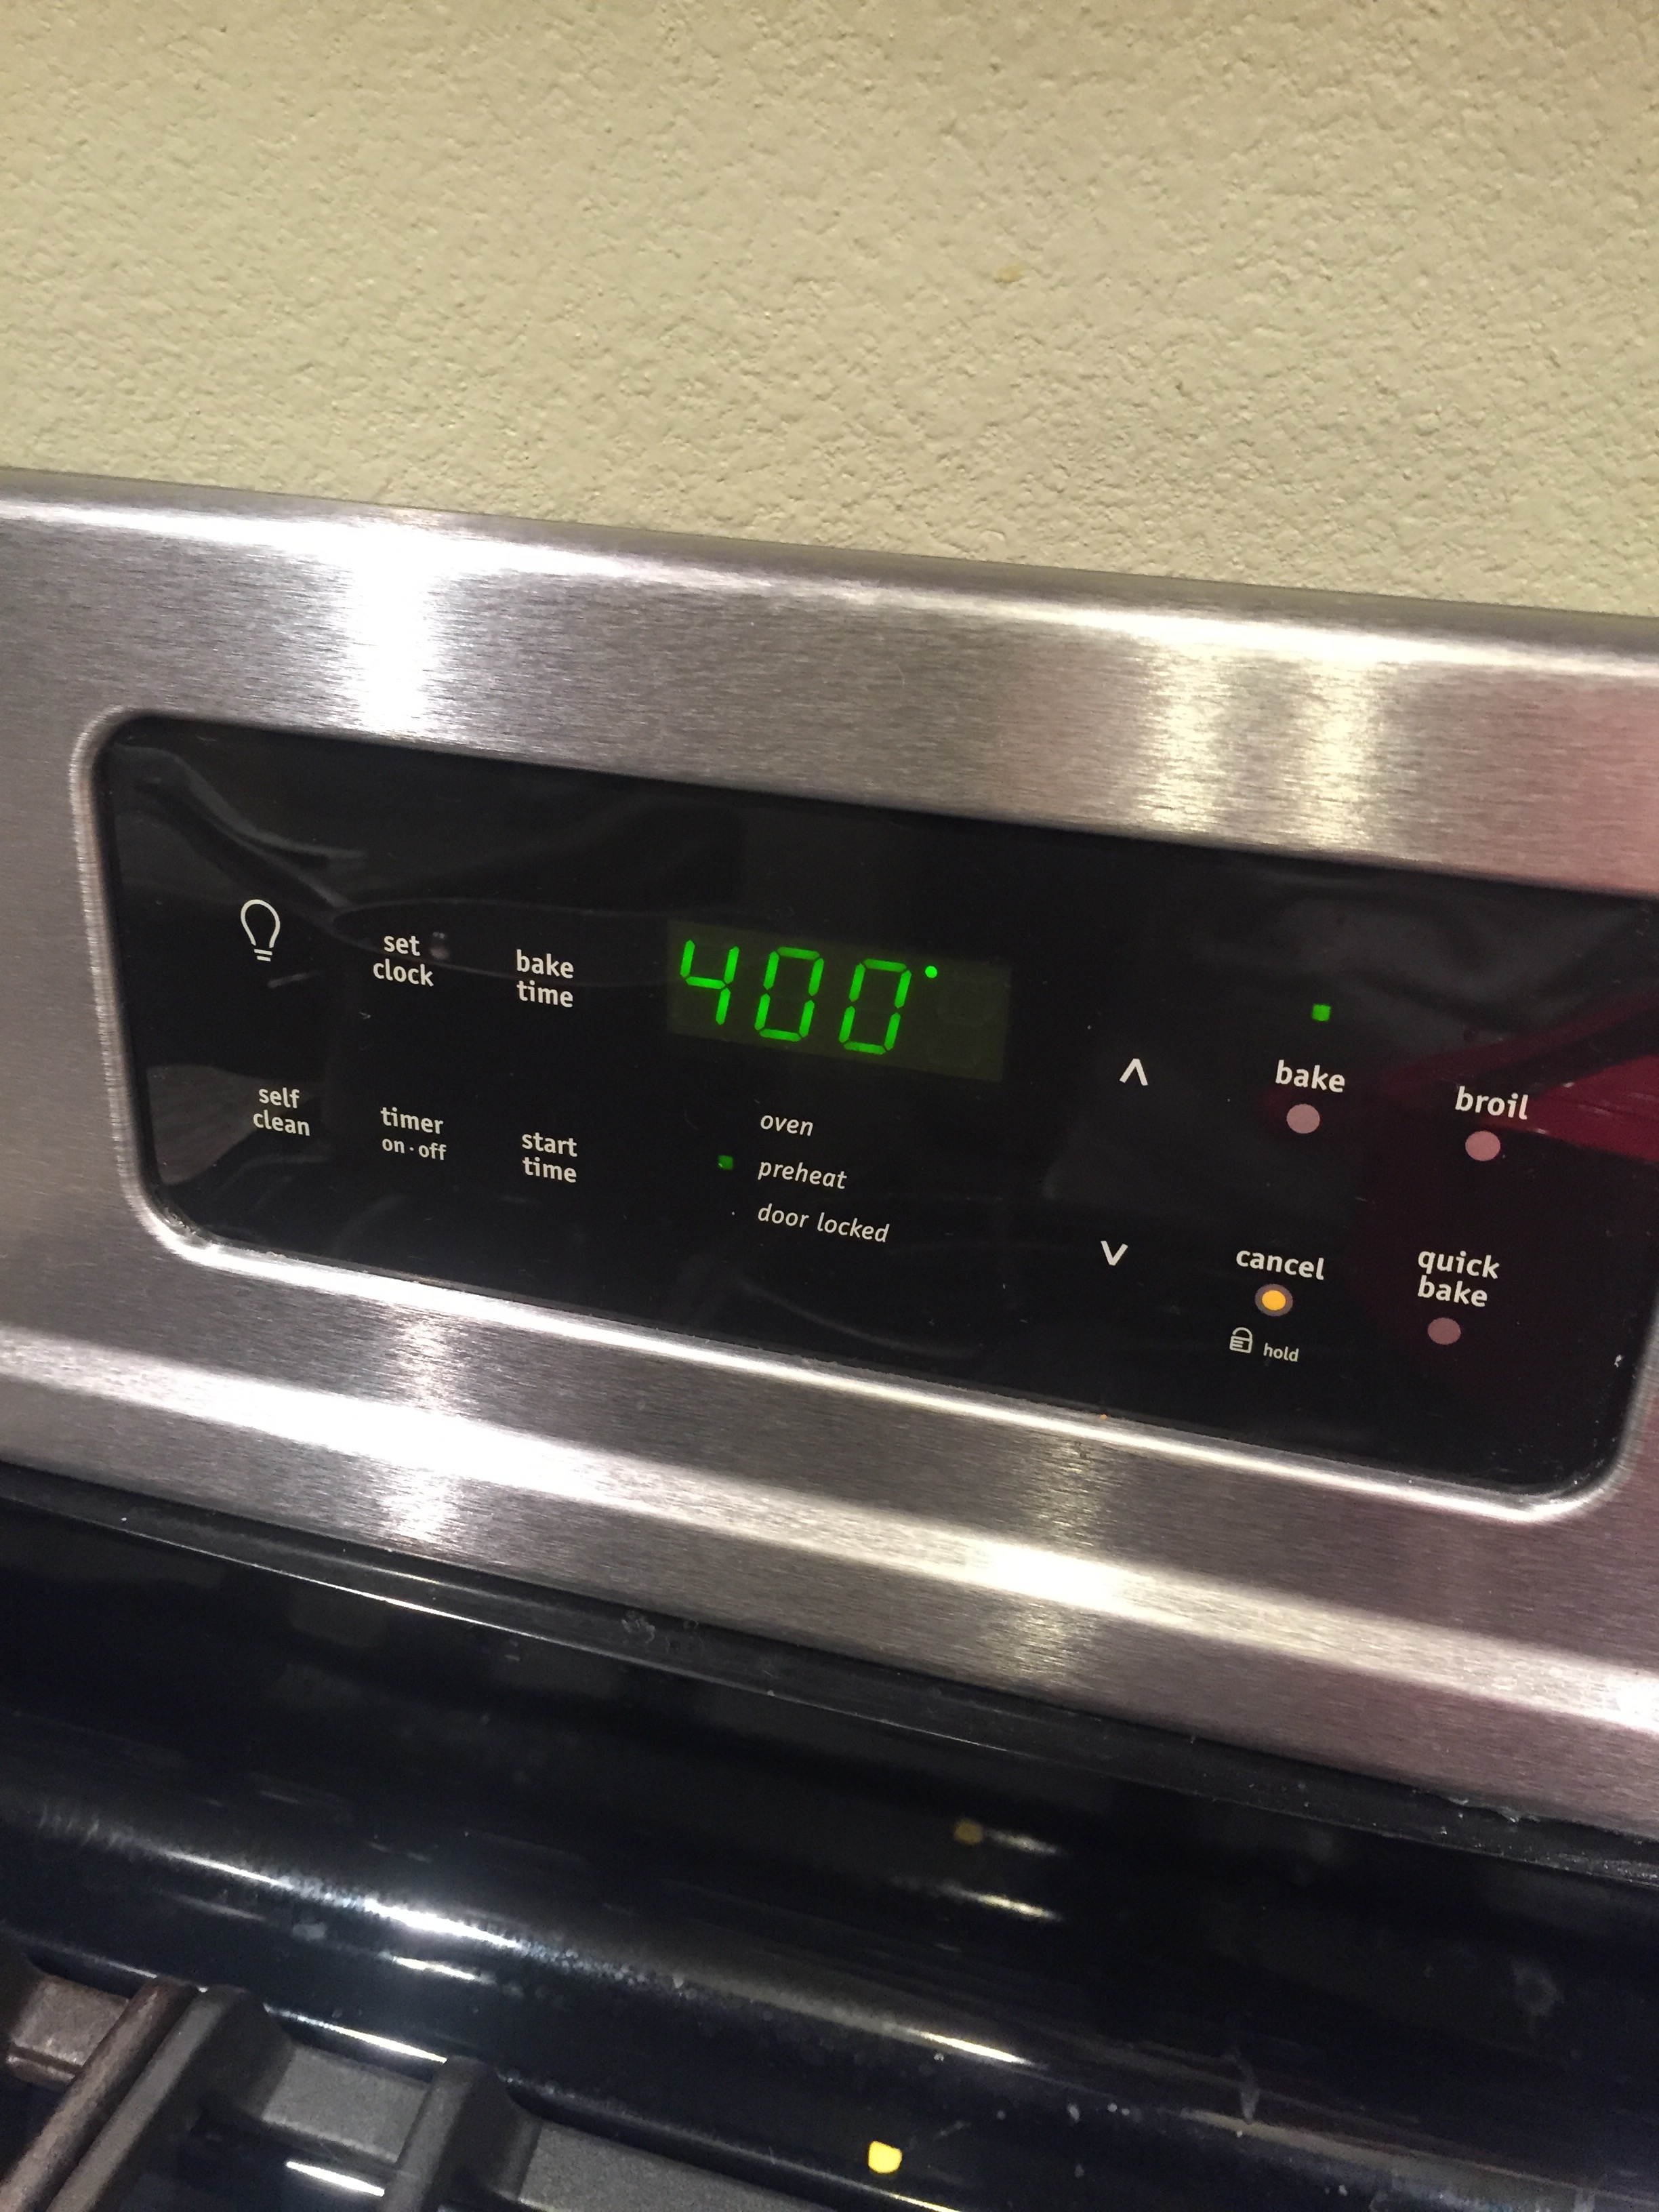
1. Preheat your oven to 400 degrees.
IMG_3404

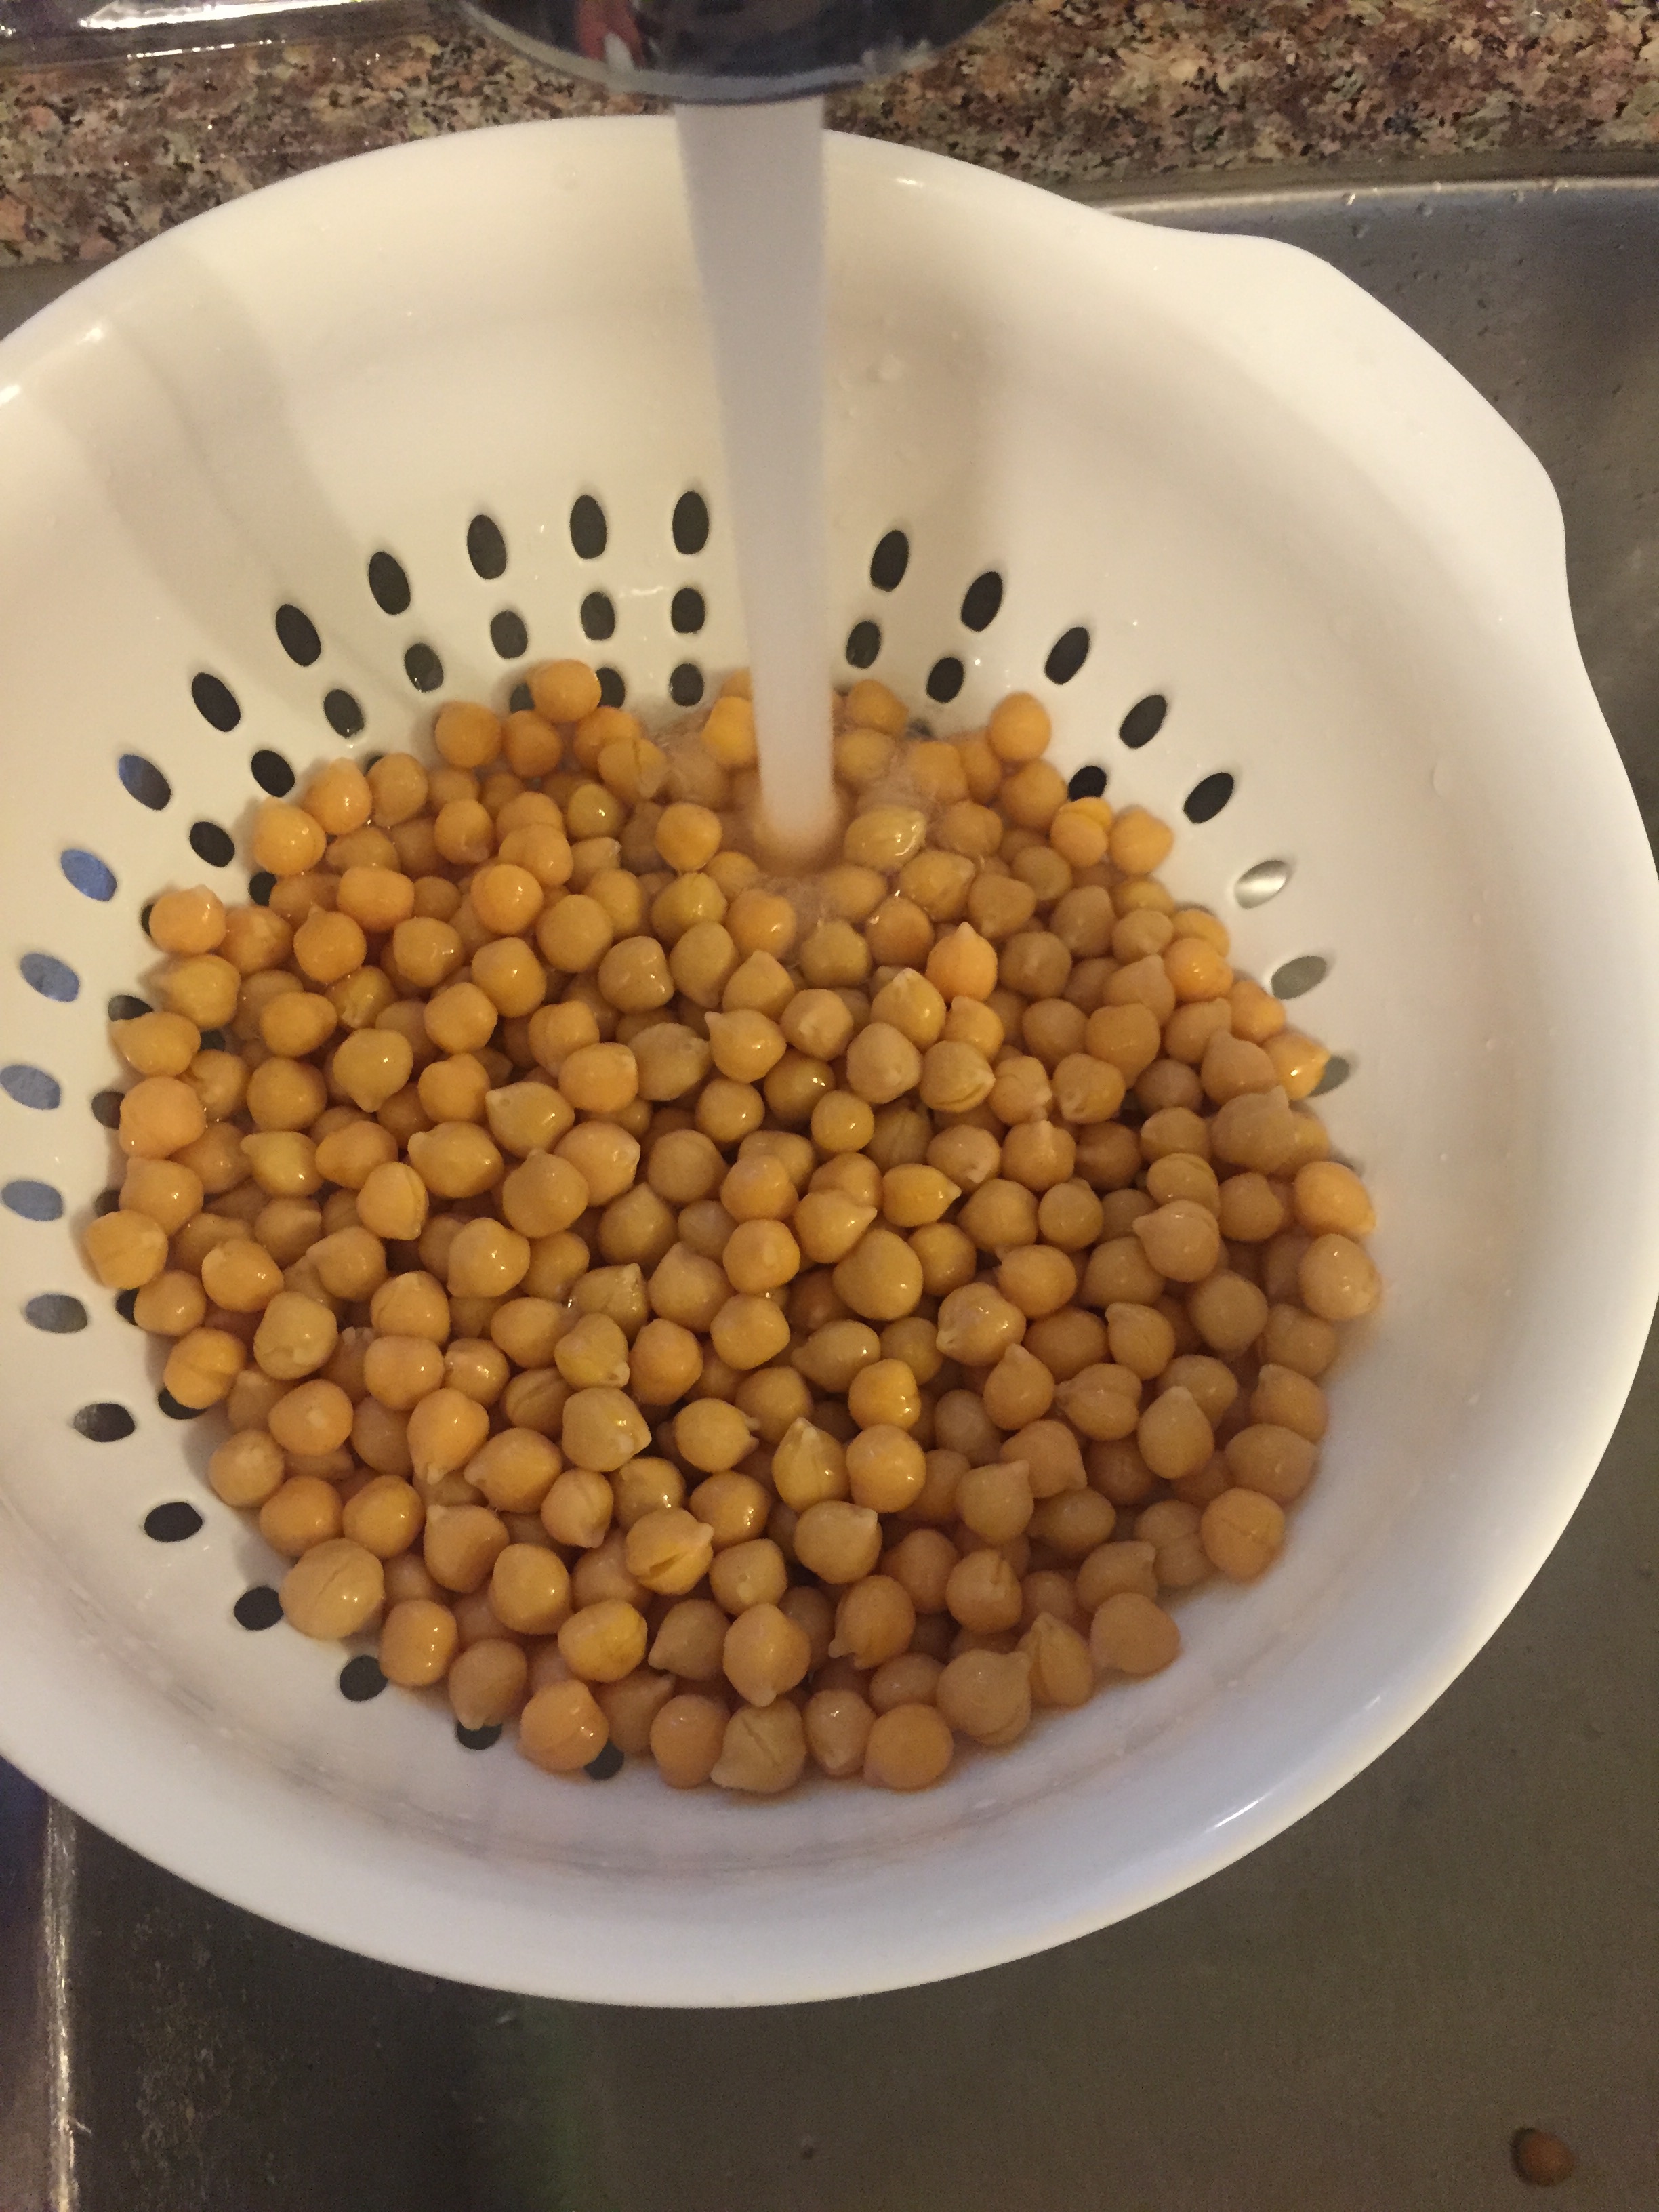
2. Open your cans of beans and put directly into strainer.

IMG_3401

3. Rinse those bad boys thoroughly with some warm water.

IMG_3403

4. Line the cookie sheet with paper towels.

IMG_3405

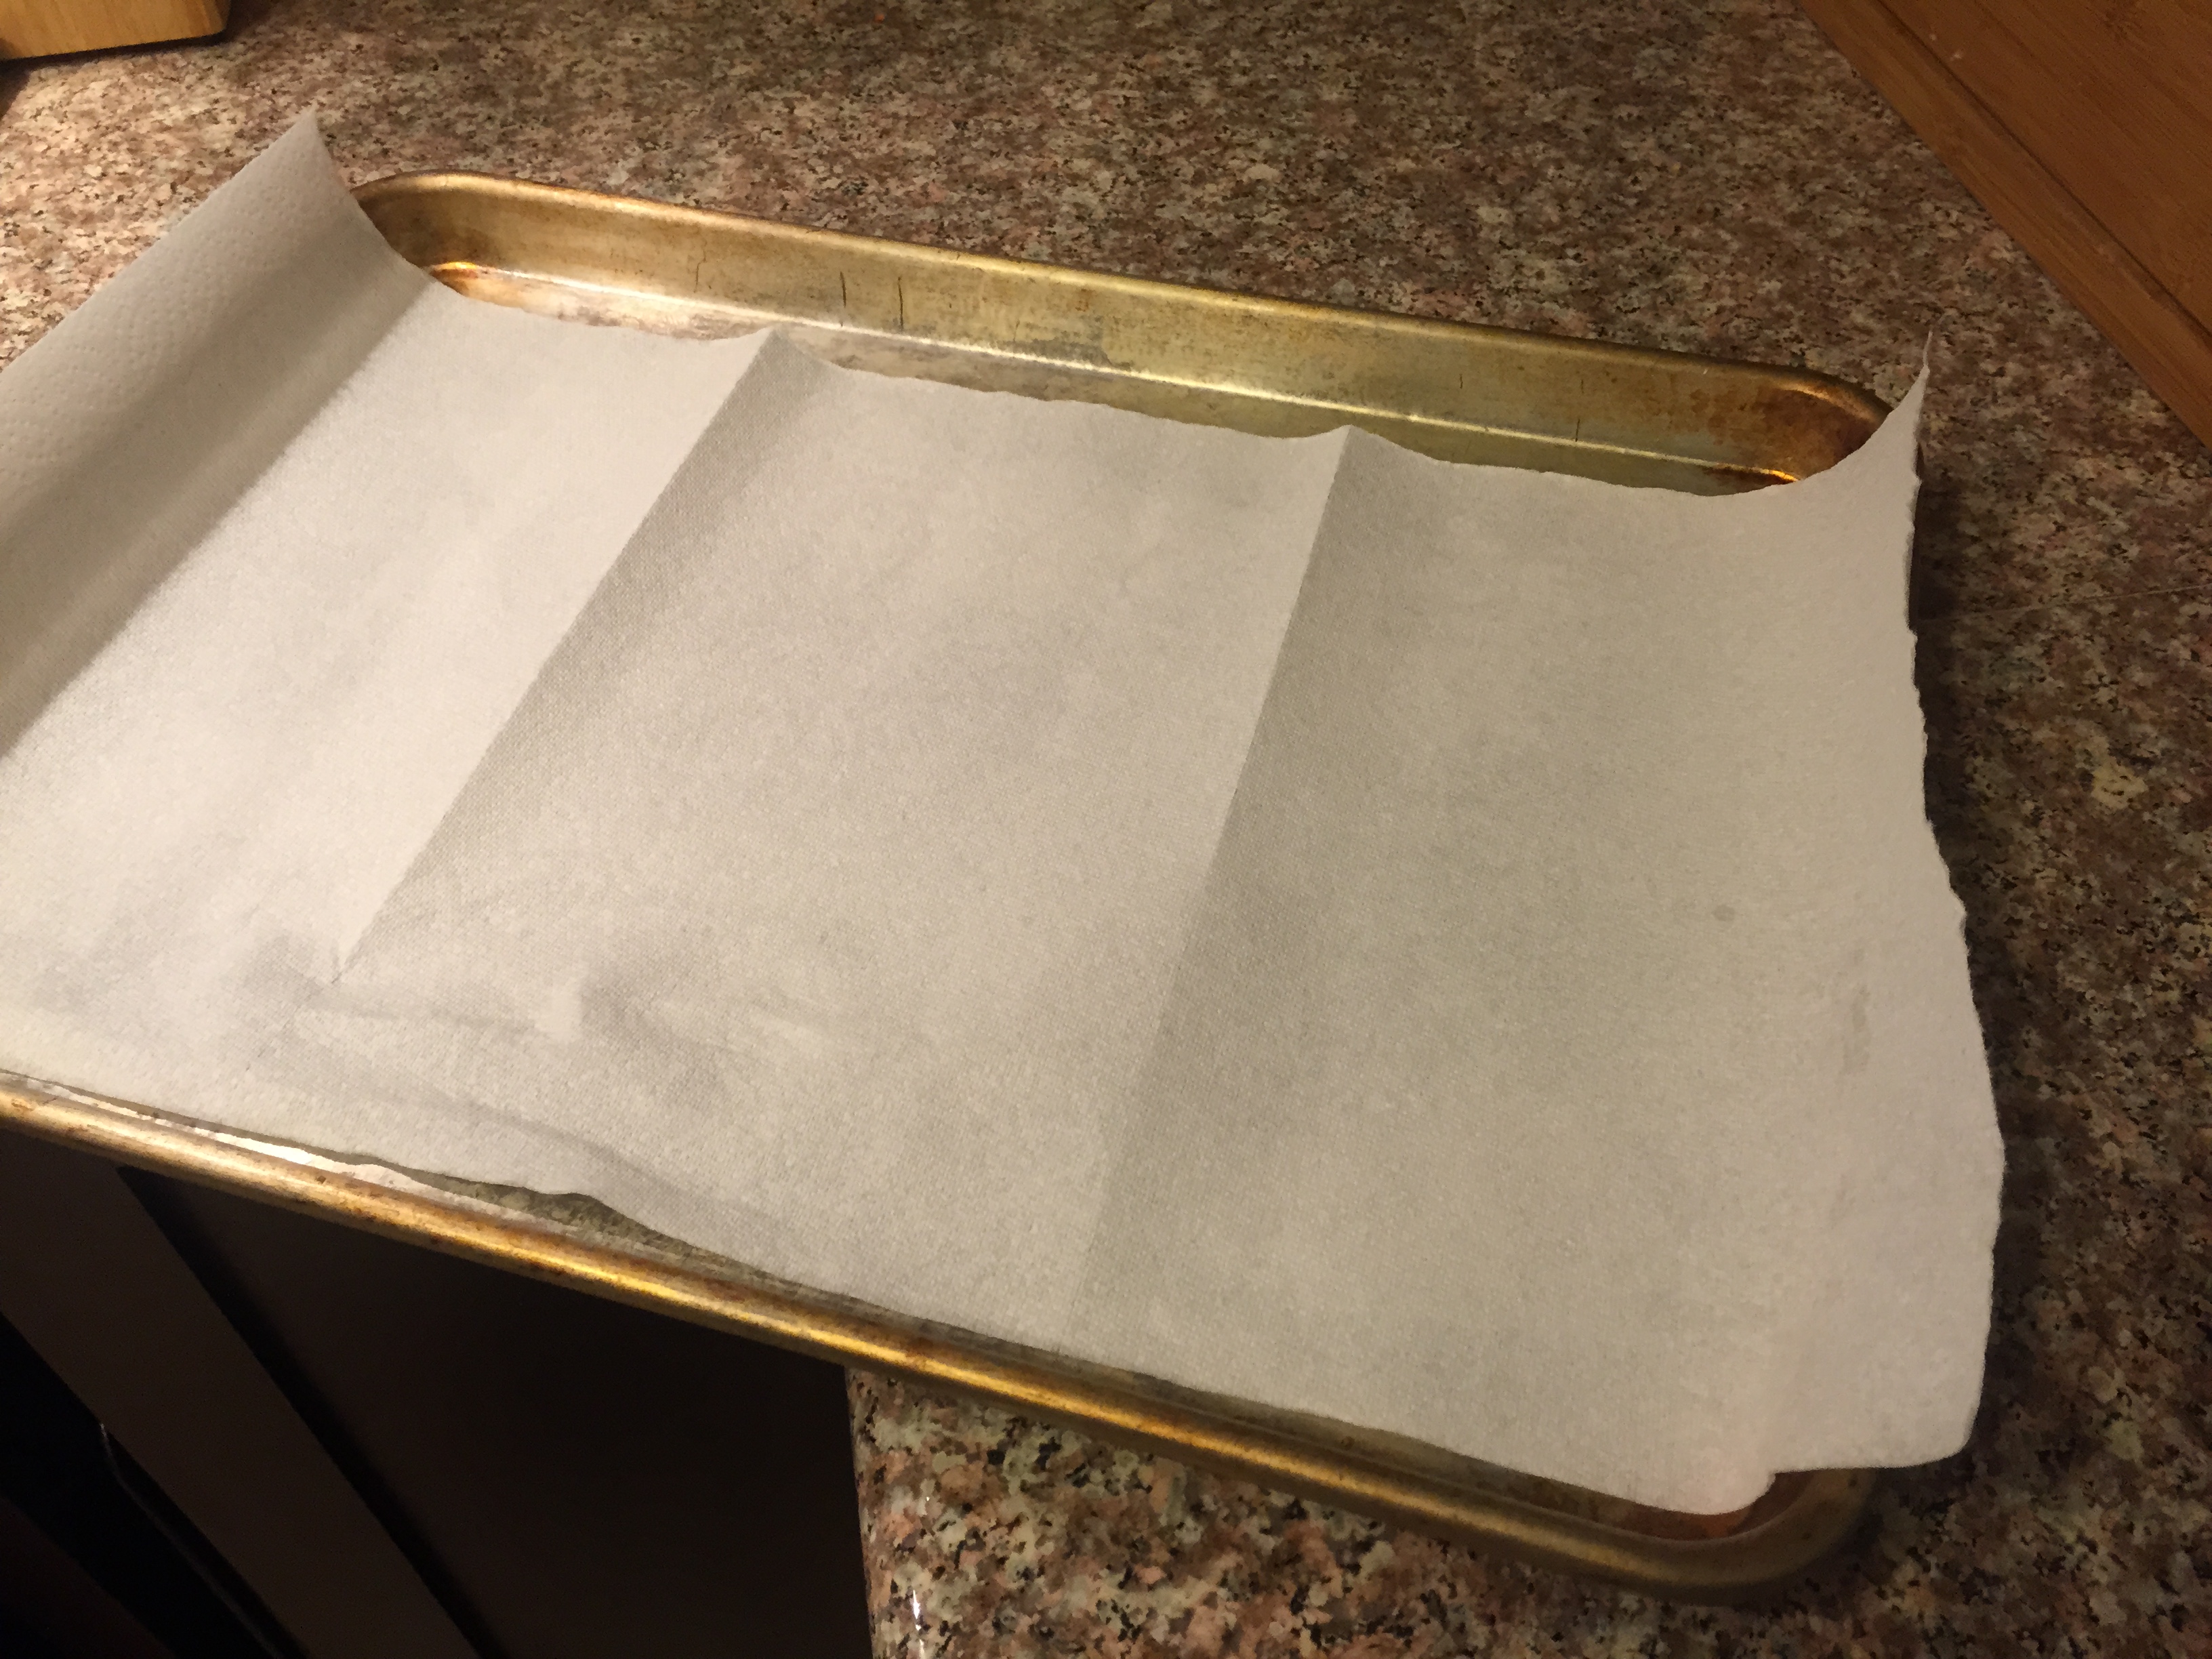
5. Empty beans from strainer to the lined cookie sheet.

IMG_3406

6. Take a paper towel or two and cover the beans. Gently press and roll your hand over the beans making sure to press lightly.

IMG_3408

7. You’ll then see the skin of the beans come off which is what we want! Keep rolling the papertowel over the beans so that more of the skins come loose. Remove any skins that come off.

IMG_3409

8. Take those beans and transfer them into a bowl. Discard the paper towels.

IMG_3412

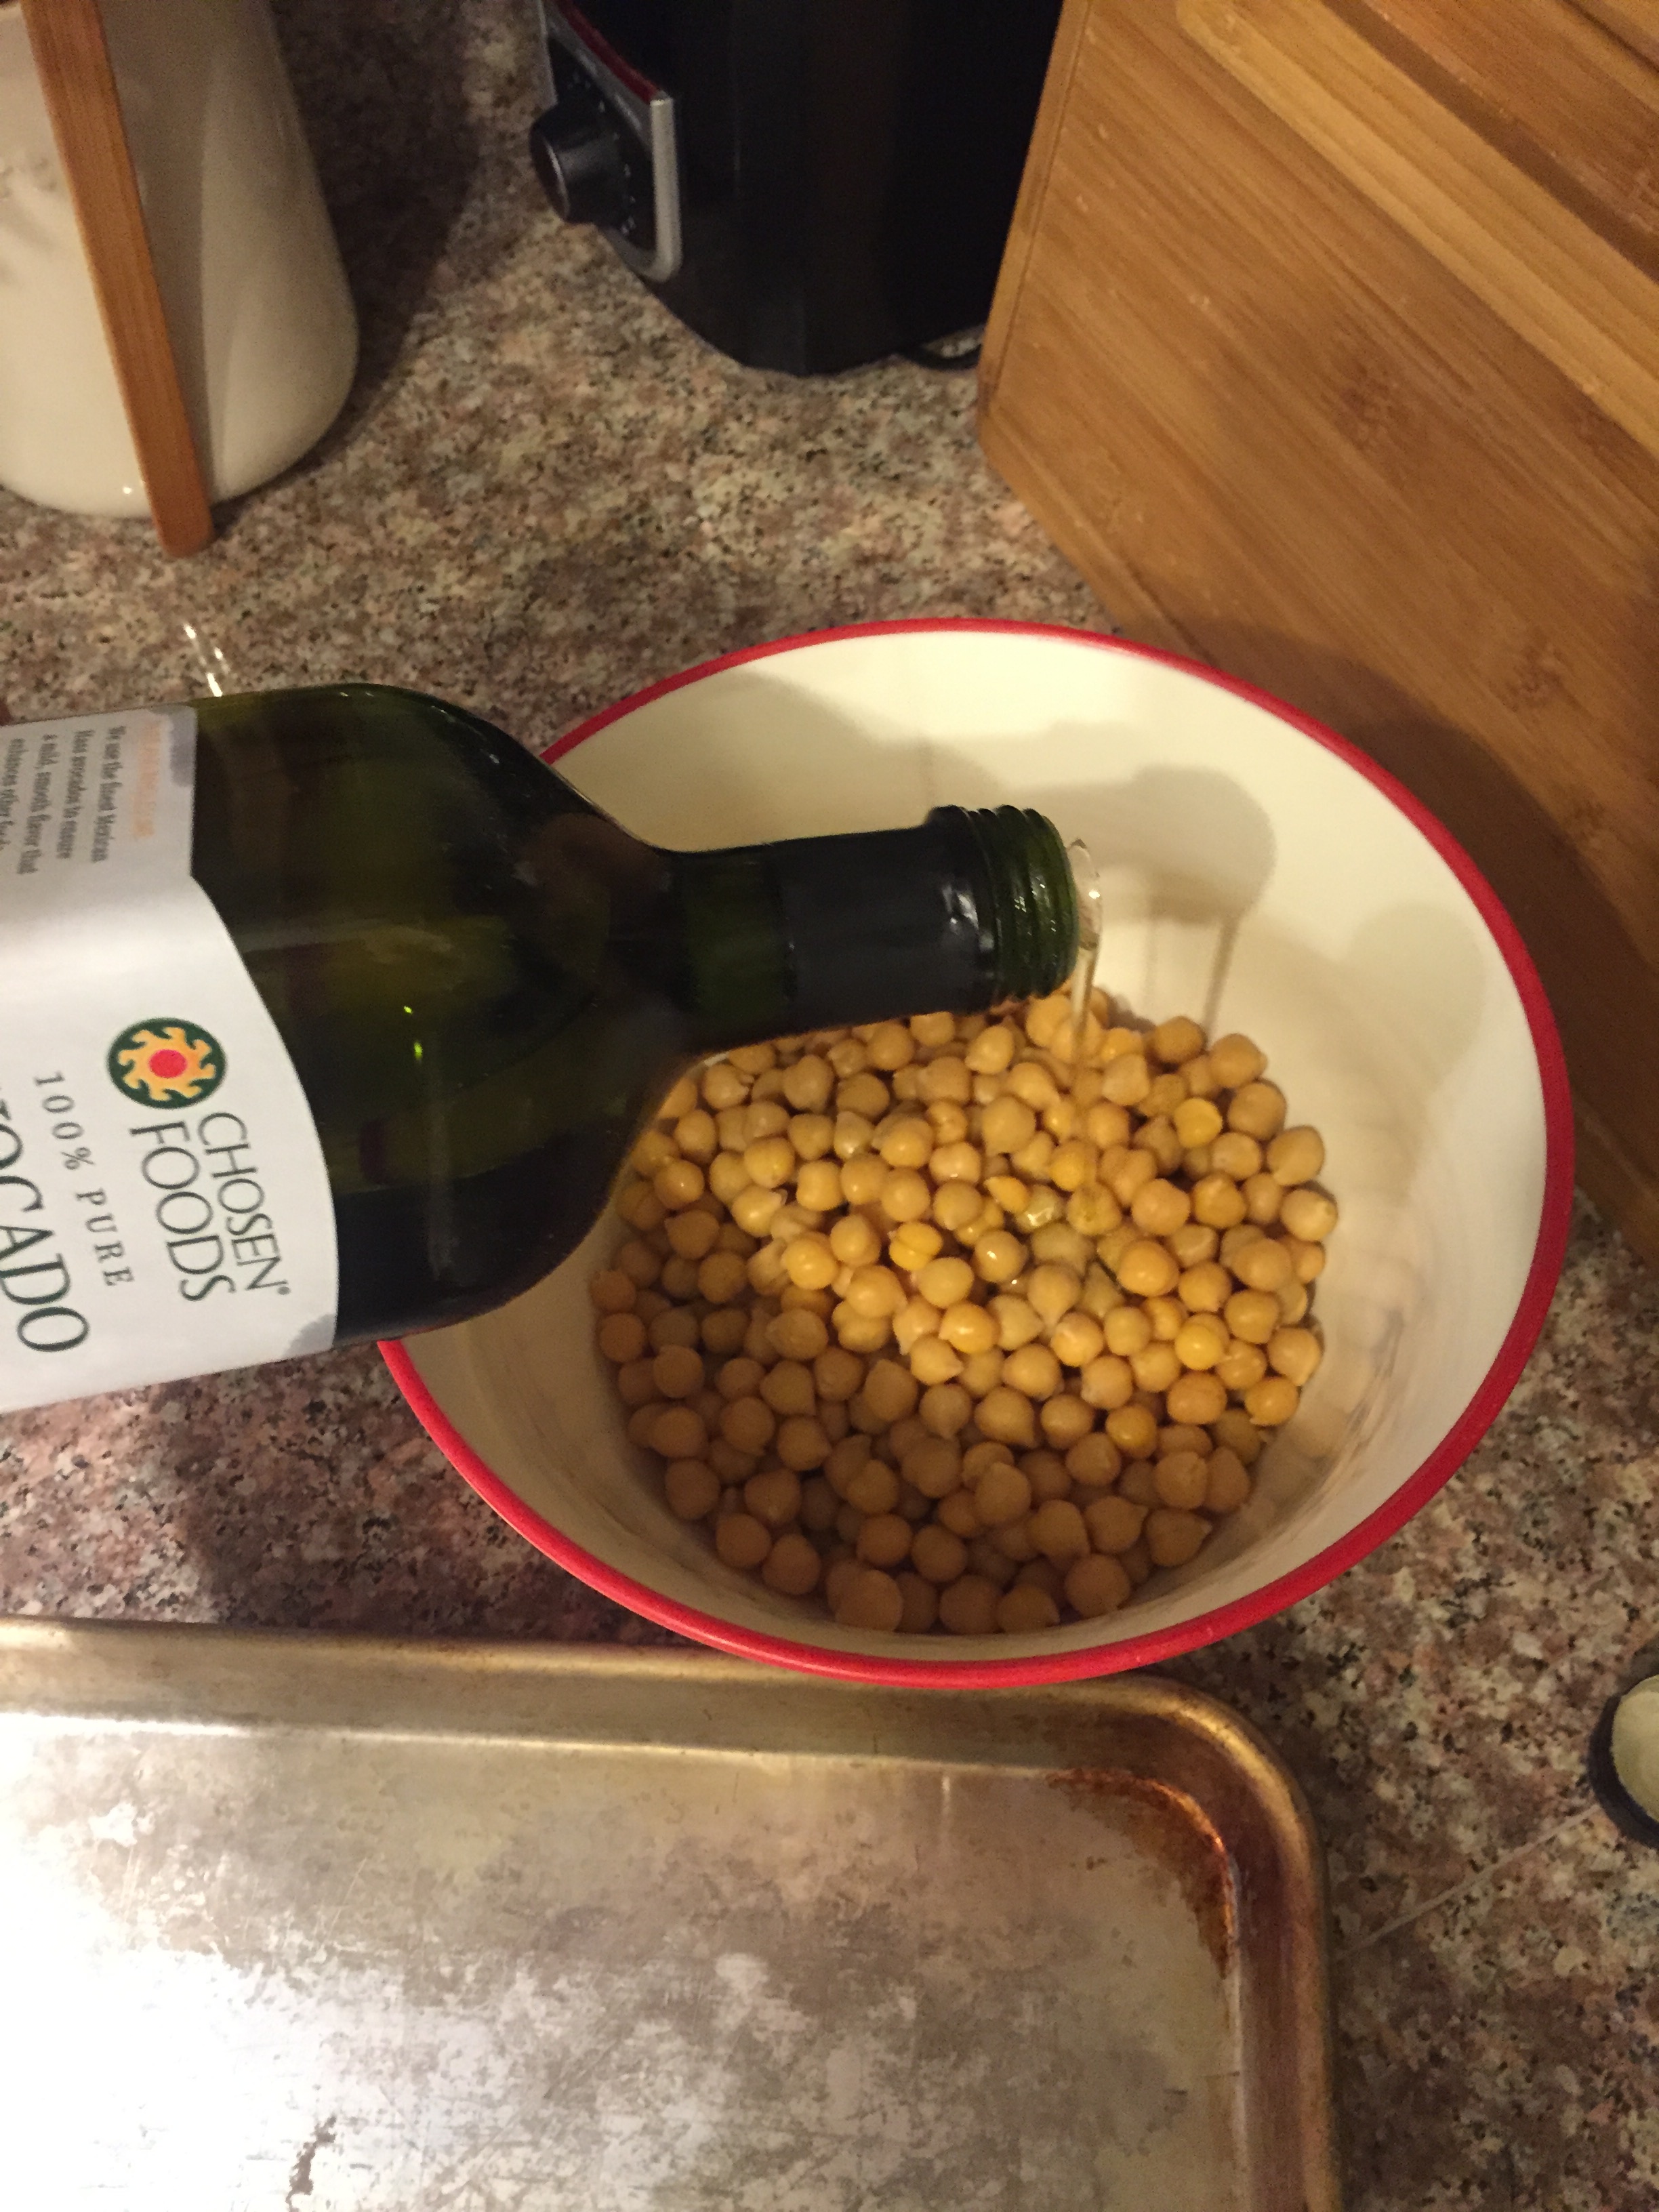
9. Add the oil of your choice to the beans and stir gently with the spoon.

IMG_3411

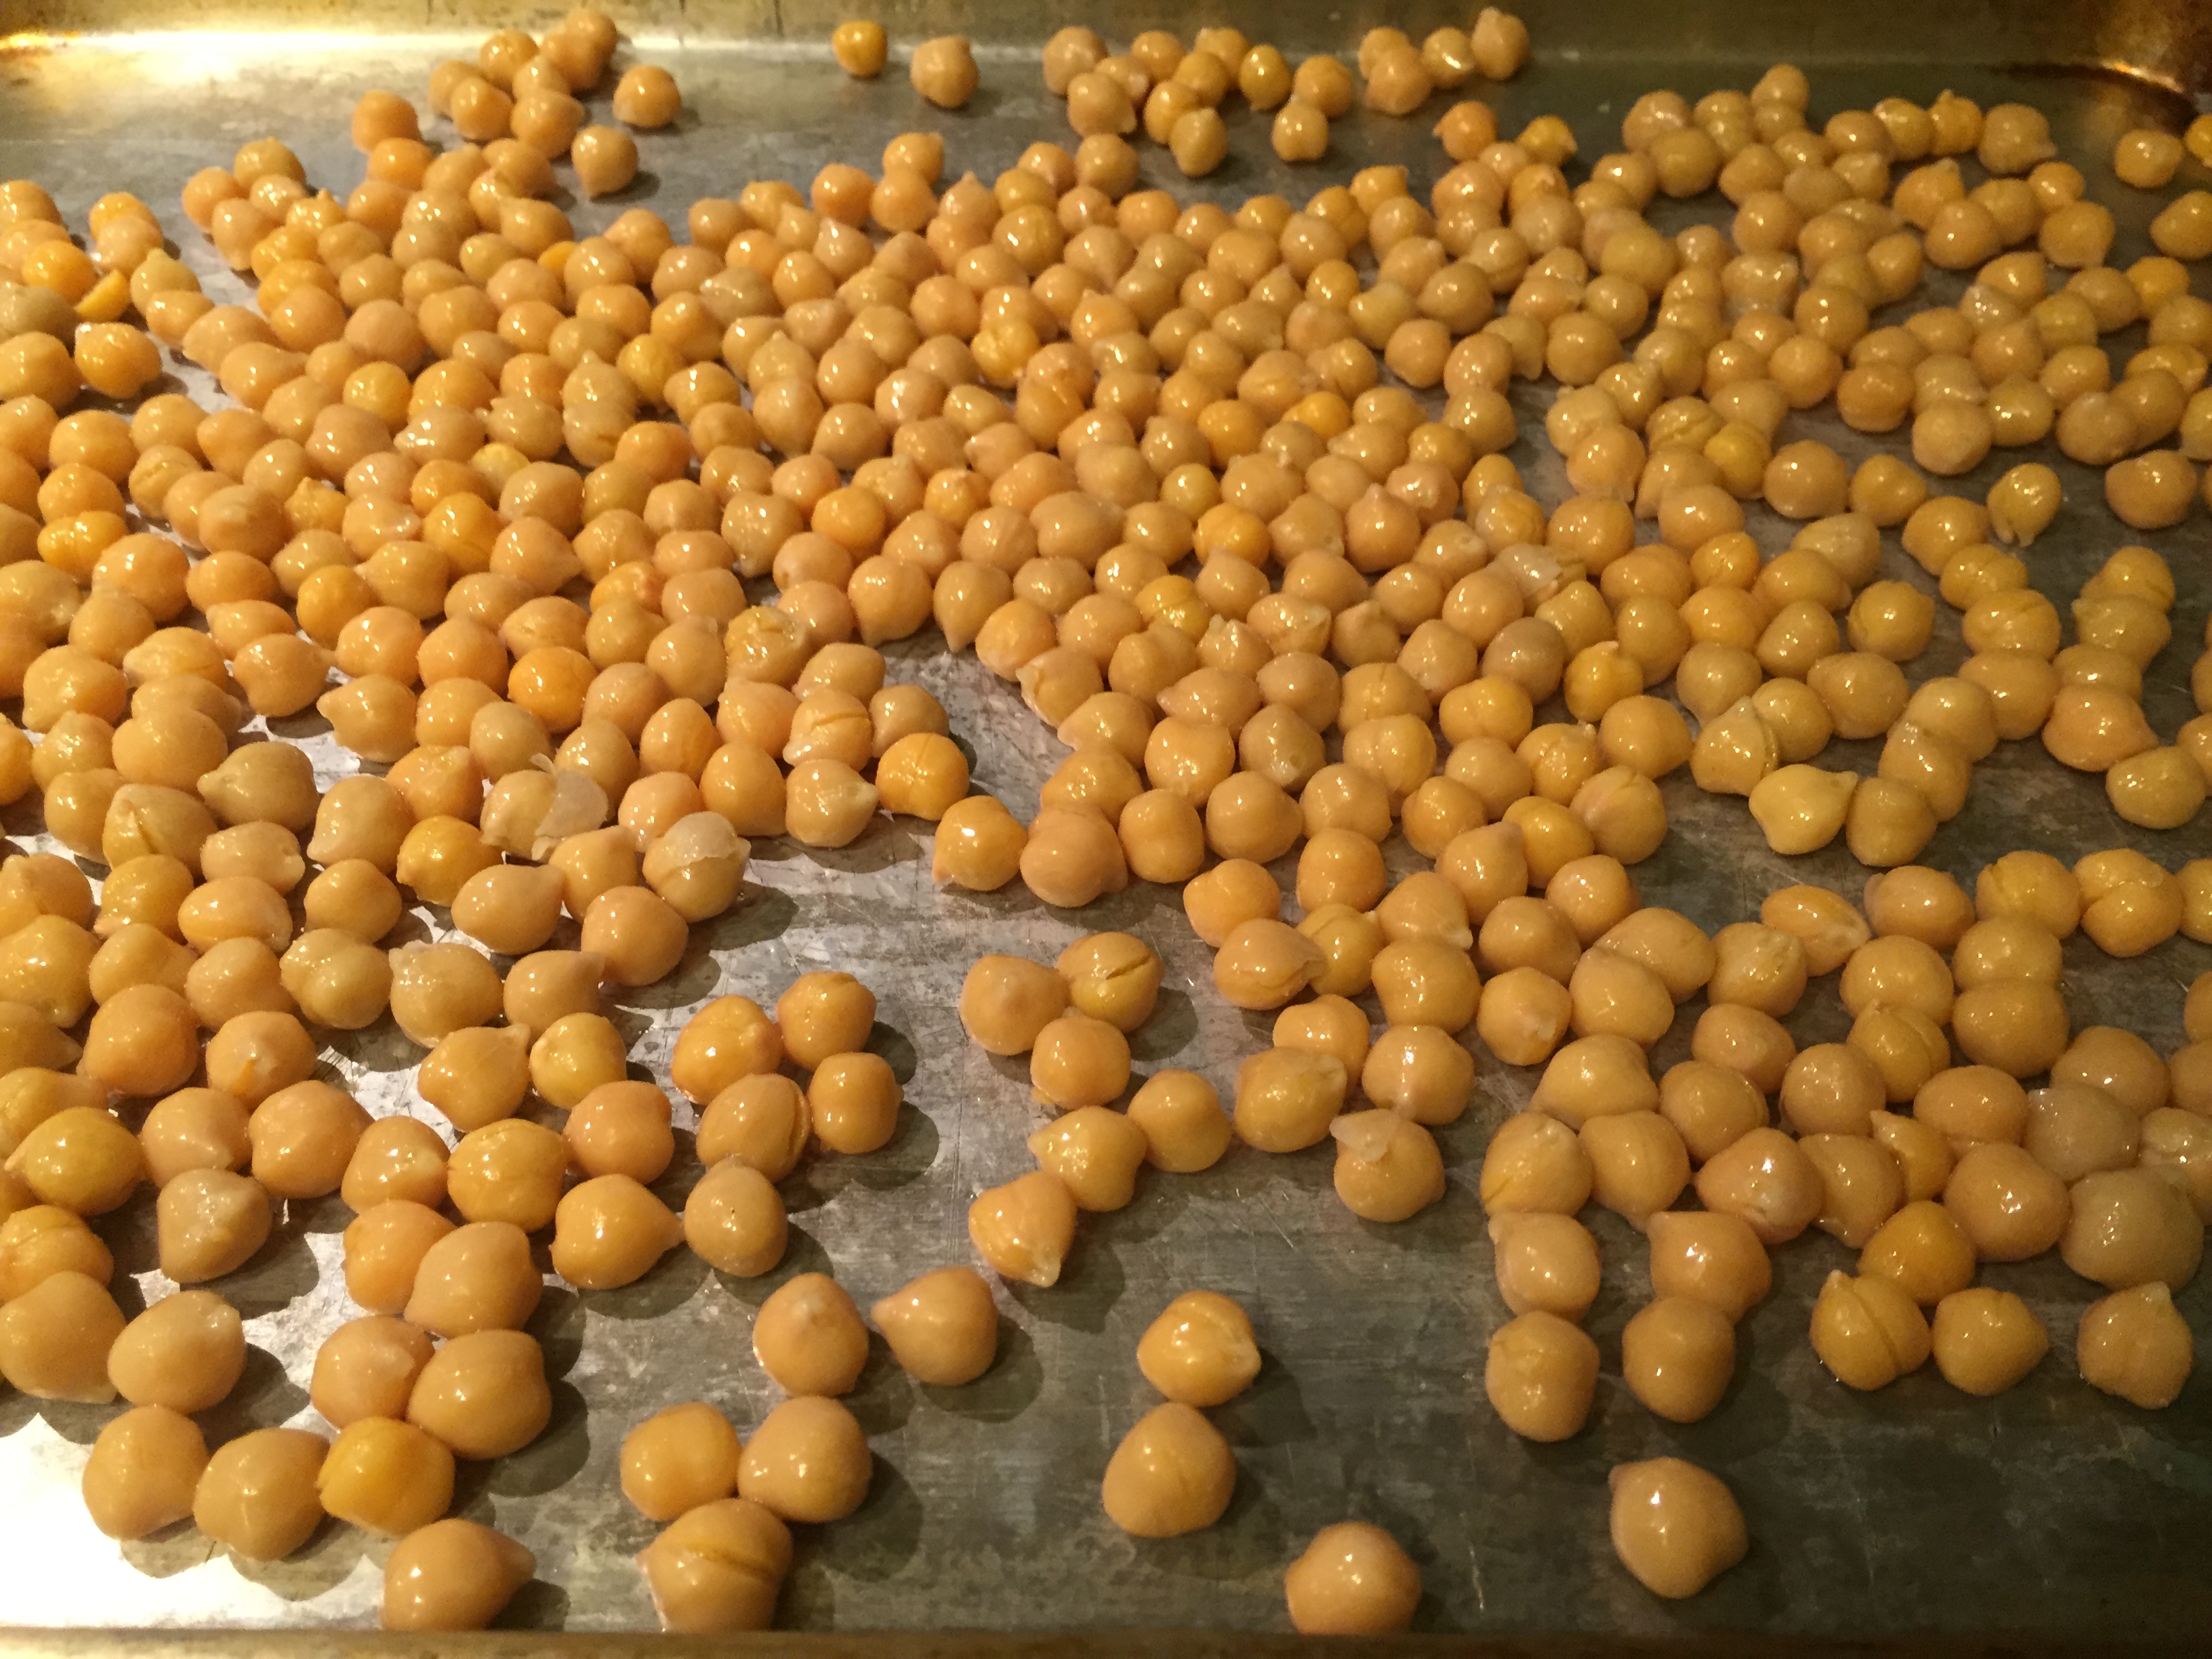
10. Place back onto cookie sheet. Make sure that they are spread out across the cookie sheet.

IMG_3416

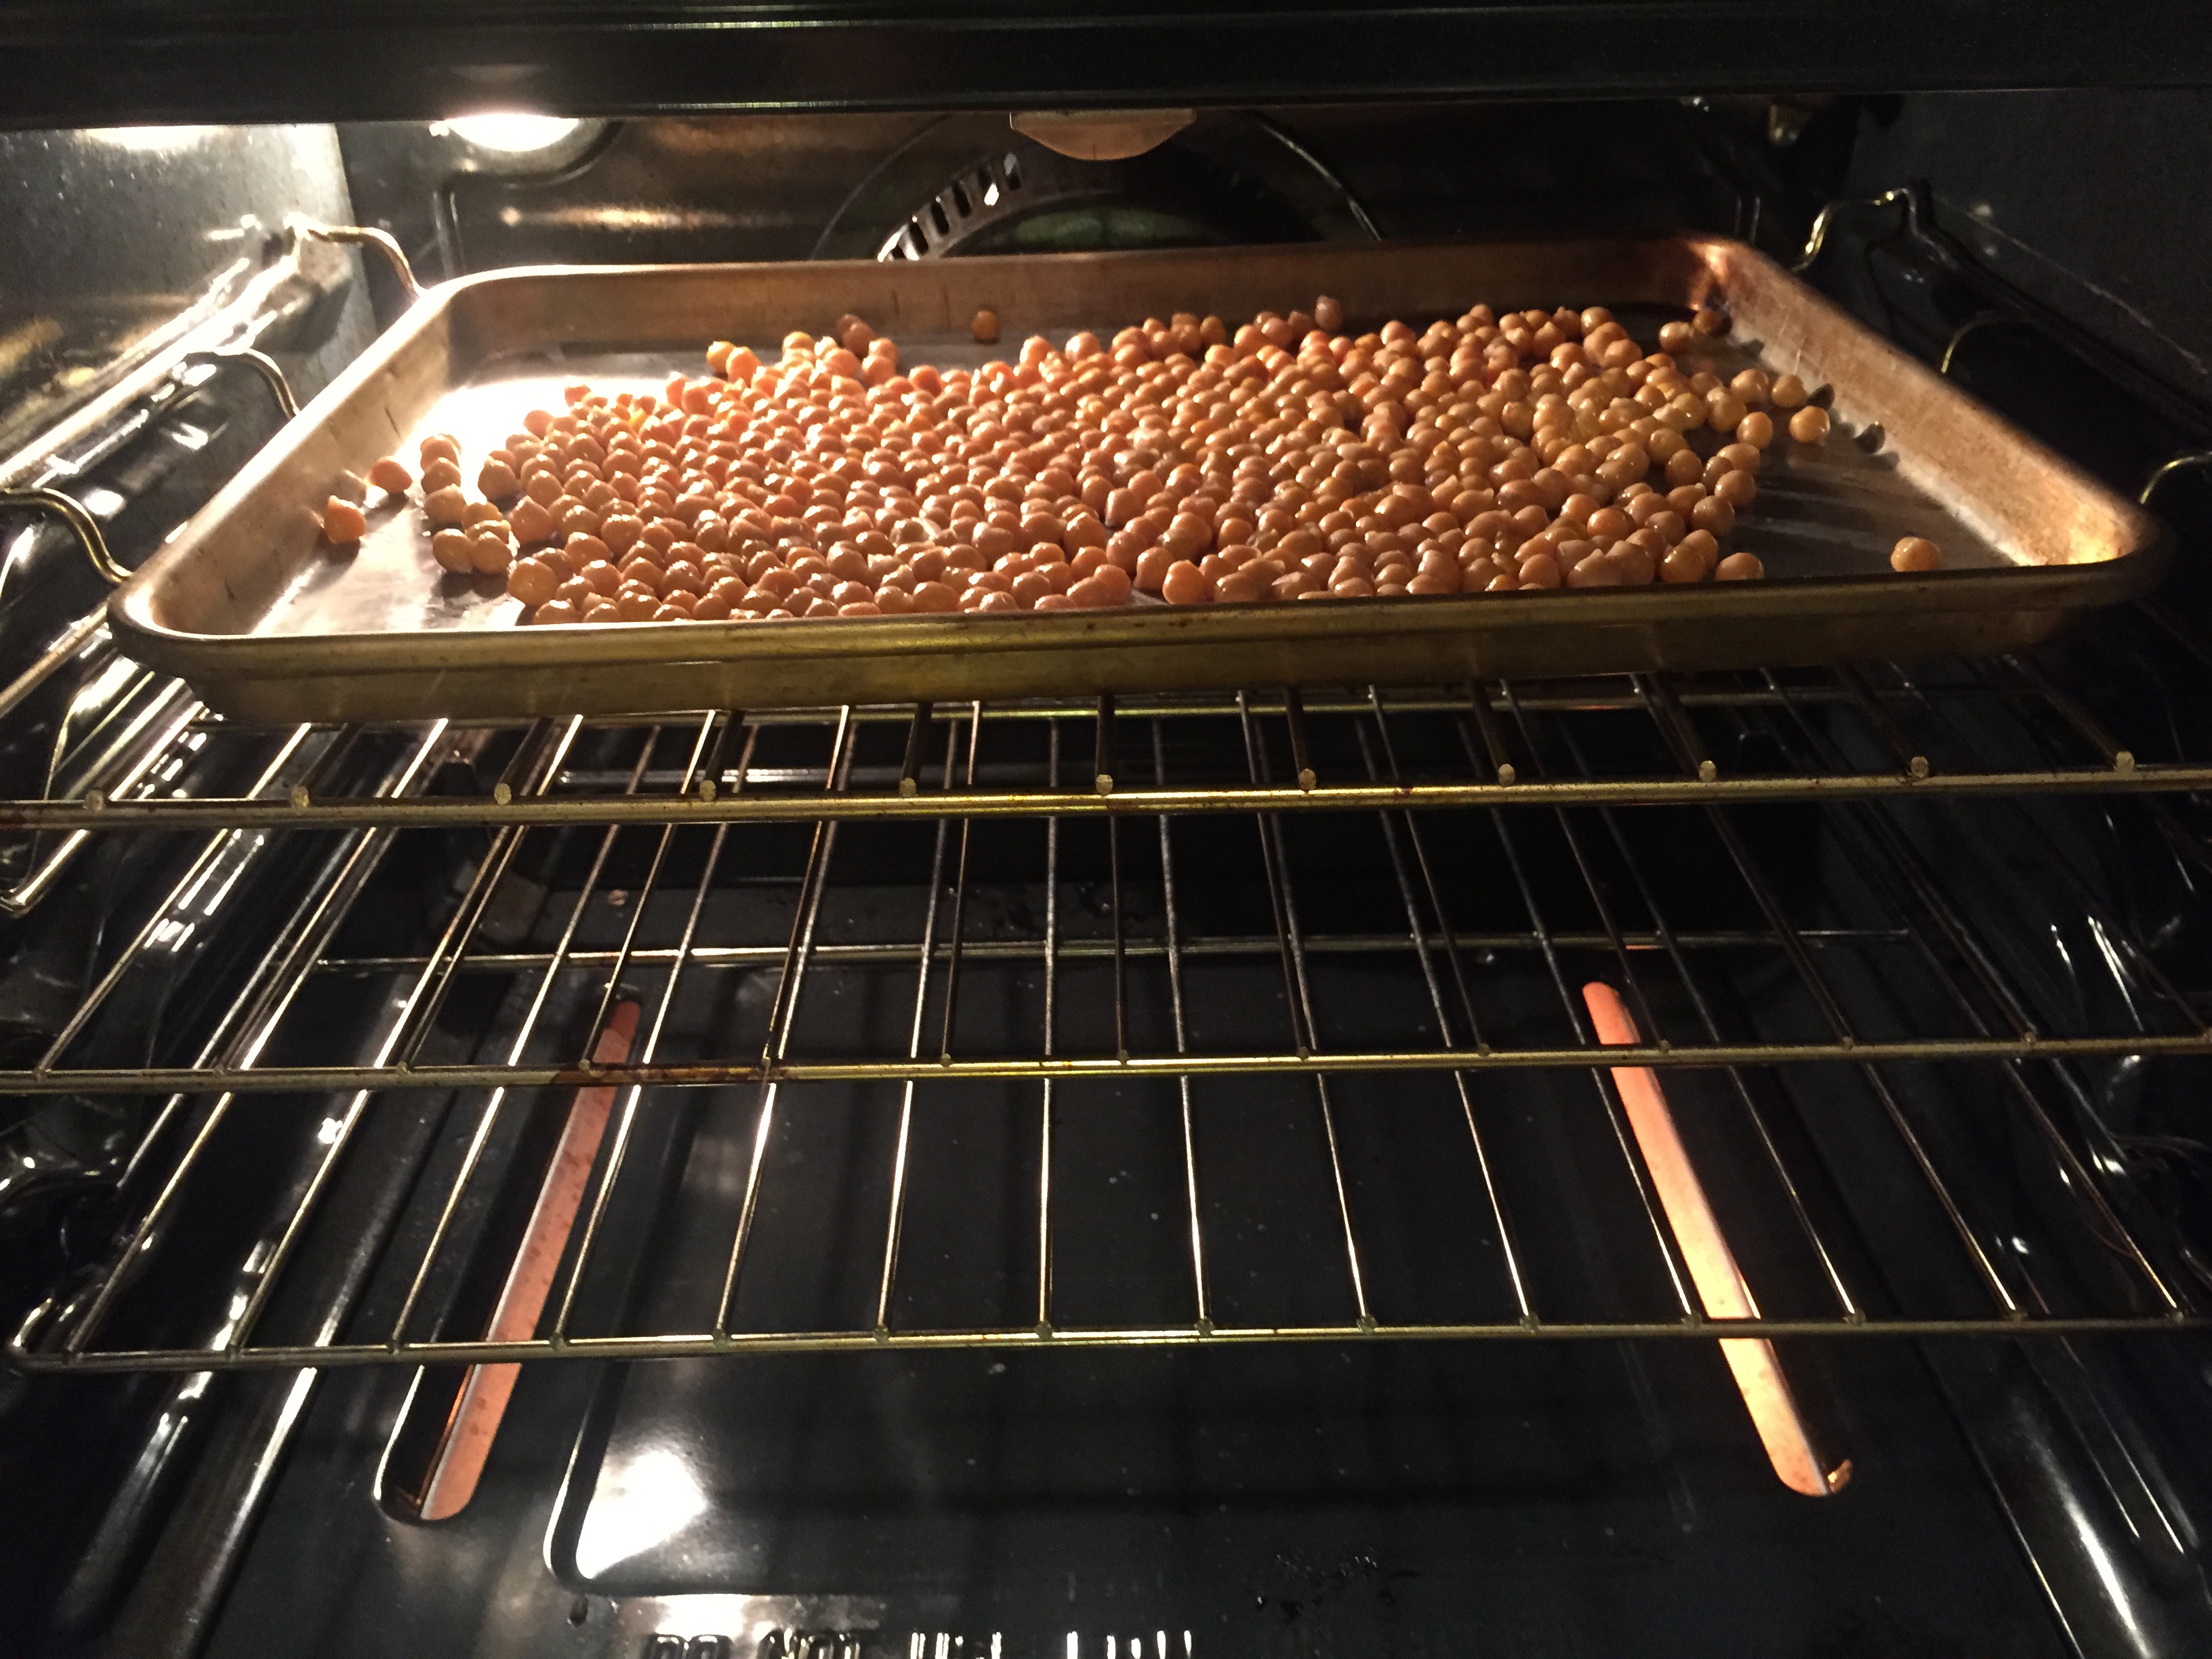
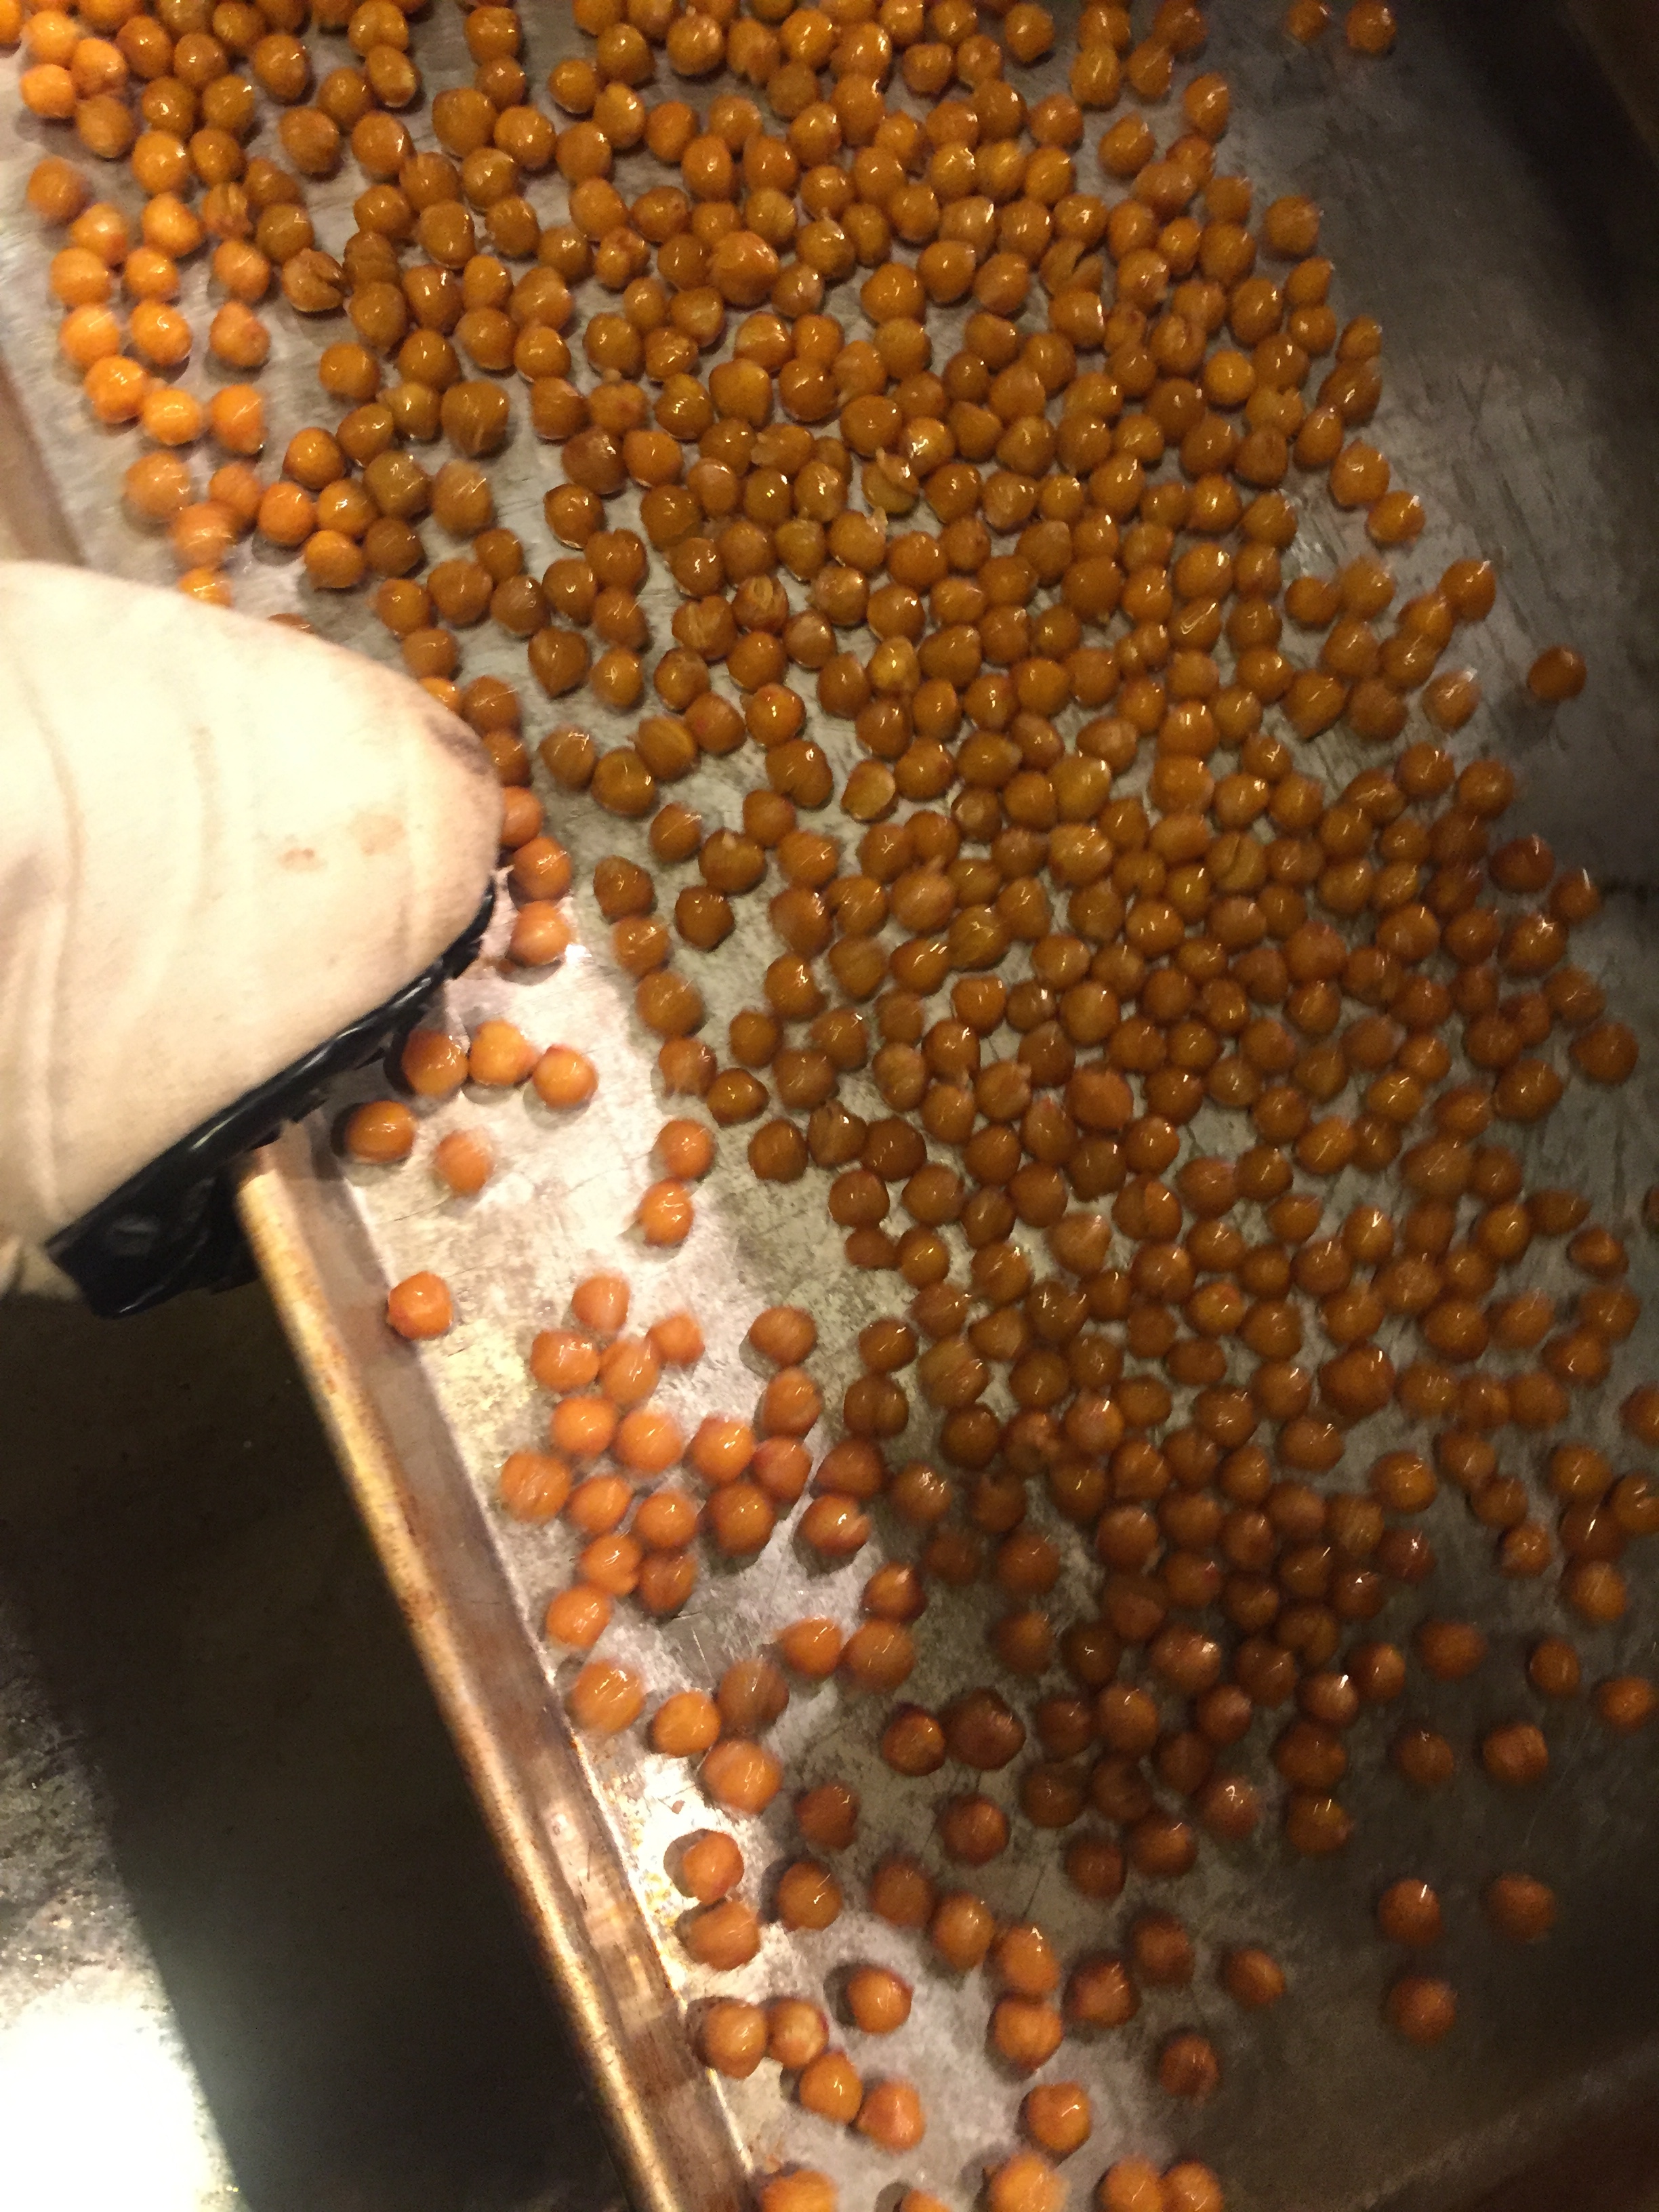
11. Bake for 40 minutes or until desired crunchiness. We like ours crunchy so we usually put it in for about 40-45 minutes. Once while the beans are baking, take the cookie sheet and shake it slightly to make sure they aren’t sticking to the sheet.

IMG_3413

Sh-sh-sh-shake it!

IMG_3419

12. Once they are crispy to your liking, remove the beans and put them into a bowl. Add sea salt or any other seasonings. Let them sit for about 5-8 minutes if you can and enjoy!

IMG_3421

Advertisement


Leave a comment

Mmm Bone Broth… That’s right. I said Bone Broth.


Bone marrow broth is so delicious, useful and healthy! I promise.

The combination of high quality meat bones and water is what consists of bone marrow broth. For hundreds of years, and in many cultures, bone broth has been known to be easily digested, healing to the gut, nourishing for your blood and bones and to prevent connective tissue and bone disorders. Bone marrow broths are especially good for those with IBD. The broth is so easy on your system! It’s also great for weight loss, replenishing your red blood cells, strengthening the kidneys and having anti-inflammatory properties. Winner! Sold!

The natural bone broth I’m talking about is not sold in stores. It’s so simple to make, and has so many health benefits that it’s hard not to make it!

I will usually make bone broth I’m a crockpot. It depends on the purpose of your broth – whether you want to use it while cooking, as a soup base or just keep it as a simple broth. Many times I will add herbs, garlic, and onions if using it in a soup. When doing this, it is so flavorful that you hardly need to add anything extra!

Here we use beef bones, however, you can use any kind of bones you’d like. I’ve also combined chicken, beef and duck which has made rich and flavorful broths as well.

Now for the recipe.

5-6 grass fed beef bones (marrow bones if possible)
2 medium-sized onions
4 carrots thickly diced
4 celery sticks
3 cloves of garlic
Fresh herbs of choice (we used thyme, oregano, rosemary, cilantro, and chives)
3t Apple Cider Vinegar
1t sesame oil
1t black peppercorns

1. Rinse bones.
2. Preheat oven to 400 degrees.
3. On a foil lined tray, place bones in oven uncovered for 20 minutes. This brings out extra flavor in the bones before simmering!
4. While the bones are roasting, dice vegetables.

20140504-211428.jpg

20140504-211455.jpg

20140504-211526.jpg
5. After the bones are done roasting, place on the bottom of the crockpot.
6. Add vegetables, garlic and herbs on top of bones.

20140504-211729.jpg

20140504-211831.jpg

20140504-211843.jpg

20140504-211933.jpg
7. Add peppercorns, sesame oil, and apple cider vinegar.

20140504-212032.jpg
8. Cover ingredients with water.

9. Cover and summer on low for 24-48hrs.

20140504-212606.jpg

10. Wait until broth cools. Strain. And pour into jars for storage!

Note: If using beef bones, it’s ok to reuse them again. Maximum time for simmering is 72 hours. If using chicken bones, do not simmer for more than 24 hours.

20140504-212803.jpg

Use an ice tray and freeze the broth for one ounce cubes for cooking!

Add veggies and protein for soups!

Or just drink it straight up. 🙂


Leave a comment

Tom’s FAMOUS BBQ RIBS! (Recipe REVEALED for the first time!)


Tom has been perfecting this rib recipe for quite some time.  I must say, that every time, it’s so delicious.  We often switch up the type of herbs, beer and dry rub.  It is all relative and it is completely up to you and your taste for seasoning.  I promise you, this recipe NEVER fails!  Let us know what you’ve changed in the recipe – what worked and what didn’t – we would love to know!  

Directions:

Apply dry rub of choice to slab of ribs. 

1. Preheat BBQ on high. 
2. Turn one side of grill to medium-high, turn other side off. 
3. Place ribs on side of grill that is off for 40 minutes. 

Image
4. Meanwhile, chop 1/2 to a whole medium onion depending on your taste. 

Image
5. On a large piece of foil, place half of the onions and fresh herbs on the bottom.  

Image
6. Place ribs that have been on in-direct heat for the 40 minutes in the foil with the onions and herbs. Add 3/4 can of beer, then put the other half of onions and herbs on top of ribs. 

ImageImage

ImageImage
7. Close the foil folding it over itself to make a good seal. Now place the foil wrapped ribs back on the indirect heat side of the BBQ. Let it cook in the foil wrap for 1 hour.

ImageImageImage

8. Get out your favorite BBQ sauce or your homemade sauce of your choice and get ready. After your hour cooking in the foil wrap take out and set back on the in-direct side. Take your BBQ sauce and smoother the ribs. You can never have enough sauce. Let this cook for 20 more minutes applying sauce every 5 minutes creating a nice glazed layer. 

Image

Image

9. Remove from grill and let rest for 10 minutes before you cut and serve.

Image
10. ENJOY!!!


Leave a comment

Our Favorite Fresh Herbs from Our Garden


We have become quite the fan of our home garden… Granted it’s not incredibly elaborate but it gets the job done. We have always been huge fans of cilantro/coriander & chives. We add it to almost everything – tacos, burritos, stiffly, eggs, mixed in with veggies (roasted cauliflower in particular), salads, or made in to a cilantro-olive oil dip! Cilantro has been known to have great antioxidant properties also!

Global Healing Center – Cilantro & Coriander

20140327-064702.jpg

Traeger Roasted Chicken – NO salt added!

Leave a comment


#Traeger Roasted Chicken

For dry rub (no salt!)

2T Onion powder
2T Garlic powder
1T Chili powder
1/4T Coriander
1T Paprika
1/2T Oregano
1/2T Basil

1. Preheat grill to 400F (high)
2. Apply dry rub to chicken – make sure to spread over all surface area.
3. Slice 1/2 of a sweet yellow onion (for one chicken)
4. Place sliced onion inside cavity of chicken.
5. Add any fresh herbs of choice – chop and place in cavity. (We used rosemary, cilantro, thyme & oregano)
6. Place chicken inside grill – one hour!
7. Check chicken after one hour. NO peaking until then!
8. Internal temperature should be 165F. Check with meat thermometer. Weather conditions may alter cooking time.
9. Cut and feast!

This gallery contains 8 photos

Traeger Ribs

Leave a comment


Smoking some delicious ribs tonight! We actually buy the preseasoned ribs at Costco and then add my homemade BBQ sauce towards the end!

We may try something different tonight… Smoking them for an hour or two and then grilling with non-direct heat.

Recipe to follow!