Nourishing Zen

Nourishing YOU. Adventures to Healthy, Happy, and a Fulfilling Life! Food is our medicine.


Leave a comment

New Favorite Protein Shake


A protein shake that ACTUALLY tastes good??  Yes please. 

I drink a shake every morning and afternoon and I’m really starting to like this new routine. Try it out!  You can get them on Amazon and also at the Vitamin Shoppe. They also have a larger sized shake that has 40g protein!  I will be getting those too 🙂


Advertisement


Leave a comment

Petroleum Jelly Alternative


IMG_4238

This product you can use for anything or anyone!

Reasons why I love Waxelene:

It’s universal.
Cruelty Free!
Made with natural ingredients.
And I love the ingredients it contains!
No clogging pores – unlike petroleum jelly!
Adult-friendly and baby-friendly.
The cost is $16.65 on Amazon Prime!

IMG_4239

IMG_4241


Leave a comment

PB2… How I love thee!


If you love peanut butter, you have no excuse NOT to get it. It’s basically all natural peanut butter – without the oil! Straight up ground peanuts – 85% less fat, protein packed and amazing!!

I could seriously eat this out of the packaging. But what I do is kind of odd – but it works!

I brew my coffee (12oz).
Add 1 teaspoon of local honey.
I add ice.
Transfer iced coffee into my shaker.
Add one scoop of protein powder (Currently using Raw Fit Protein).
Add 2 tablespoons of PB2 chocolate (made with real, delicious cocoa).
Sh-sh-sh-shhhhhake it.

It’s amazing. Do it. I strongly suggest it. This way, you’re drinking one beverage only, and getting your caffeine intake as well as your meal replacement!

Yum!


Leave a comment

Mmm Bone Broth… That’s right. I said Bone Broth.


Bone marrow broth is so delicious, useful and healthy! I promise.

The combination of high quality meat bones and water is what consists of bone marrow broth. For hundreds of years, and in many cultures, bone broth has been known to be easily digested, healing to the gut, nourishing for your blood and bones and to prevent connective tissue and bone disorders. Bone marrow broths are especially good for those with IBD. The broth is so easy on your system! It’s also great for weight loss, replenishing your red blood cells, strengthening the kidneys and having anti-inflammatory properties. Winner! Sold!

The natural bone broth I’m talking about is not sold in stores. It’s so simple to make, and has so many health benefits that it’s hard not to make it!

I will usually make bone broth I’m a crockpot. It depends on the purpose of your broth – whether you want to use it while cooking, as a soup base or just keep it as a simple broth. Many times I will add herbs, garlic, and onions if using it in a soup. When doing this, it is so flavorful that you hardly need to add anything extra!

Here we use beef bones, however, you can use any kind of bones you’d like. I’ve also combined chicken, beef and duck which has made rich and flavorful broths as well.

Now for the recipe.

5-6 grass fed beef bones (marrow bones if possible)
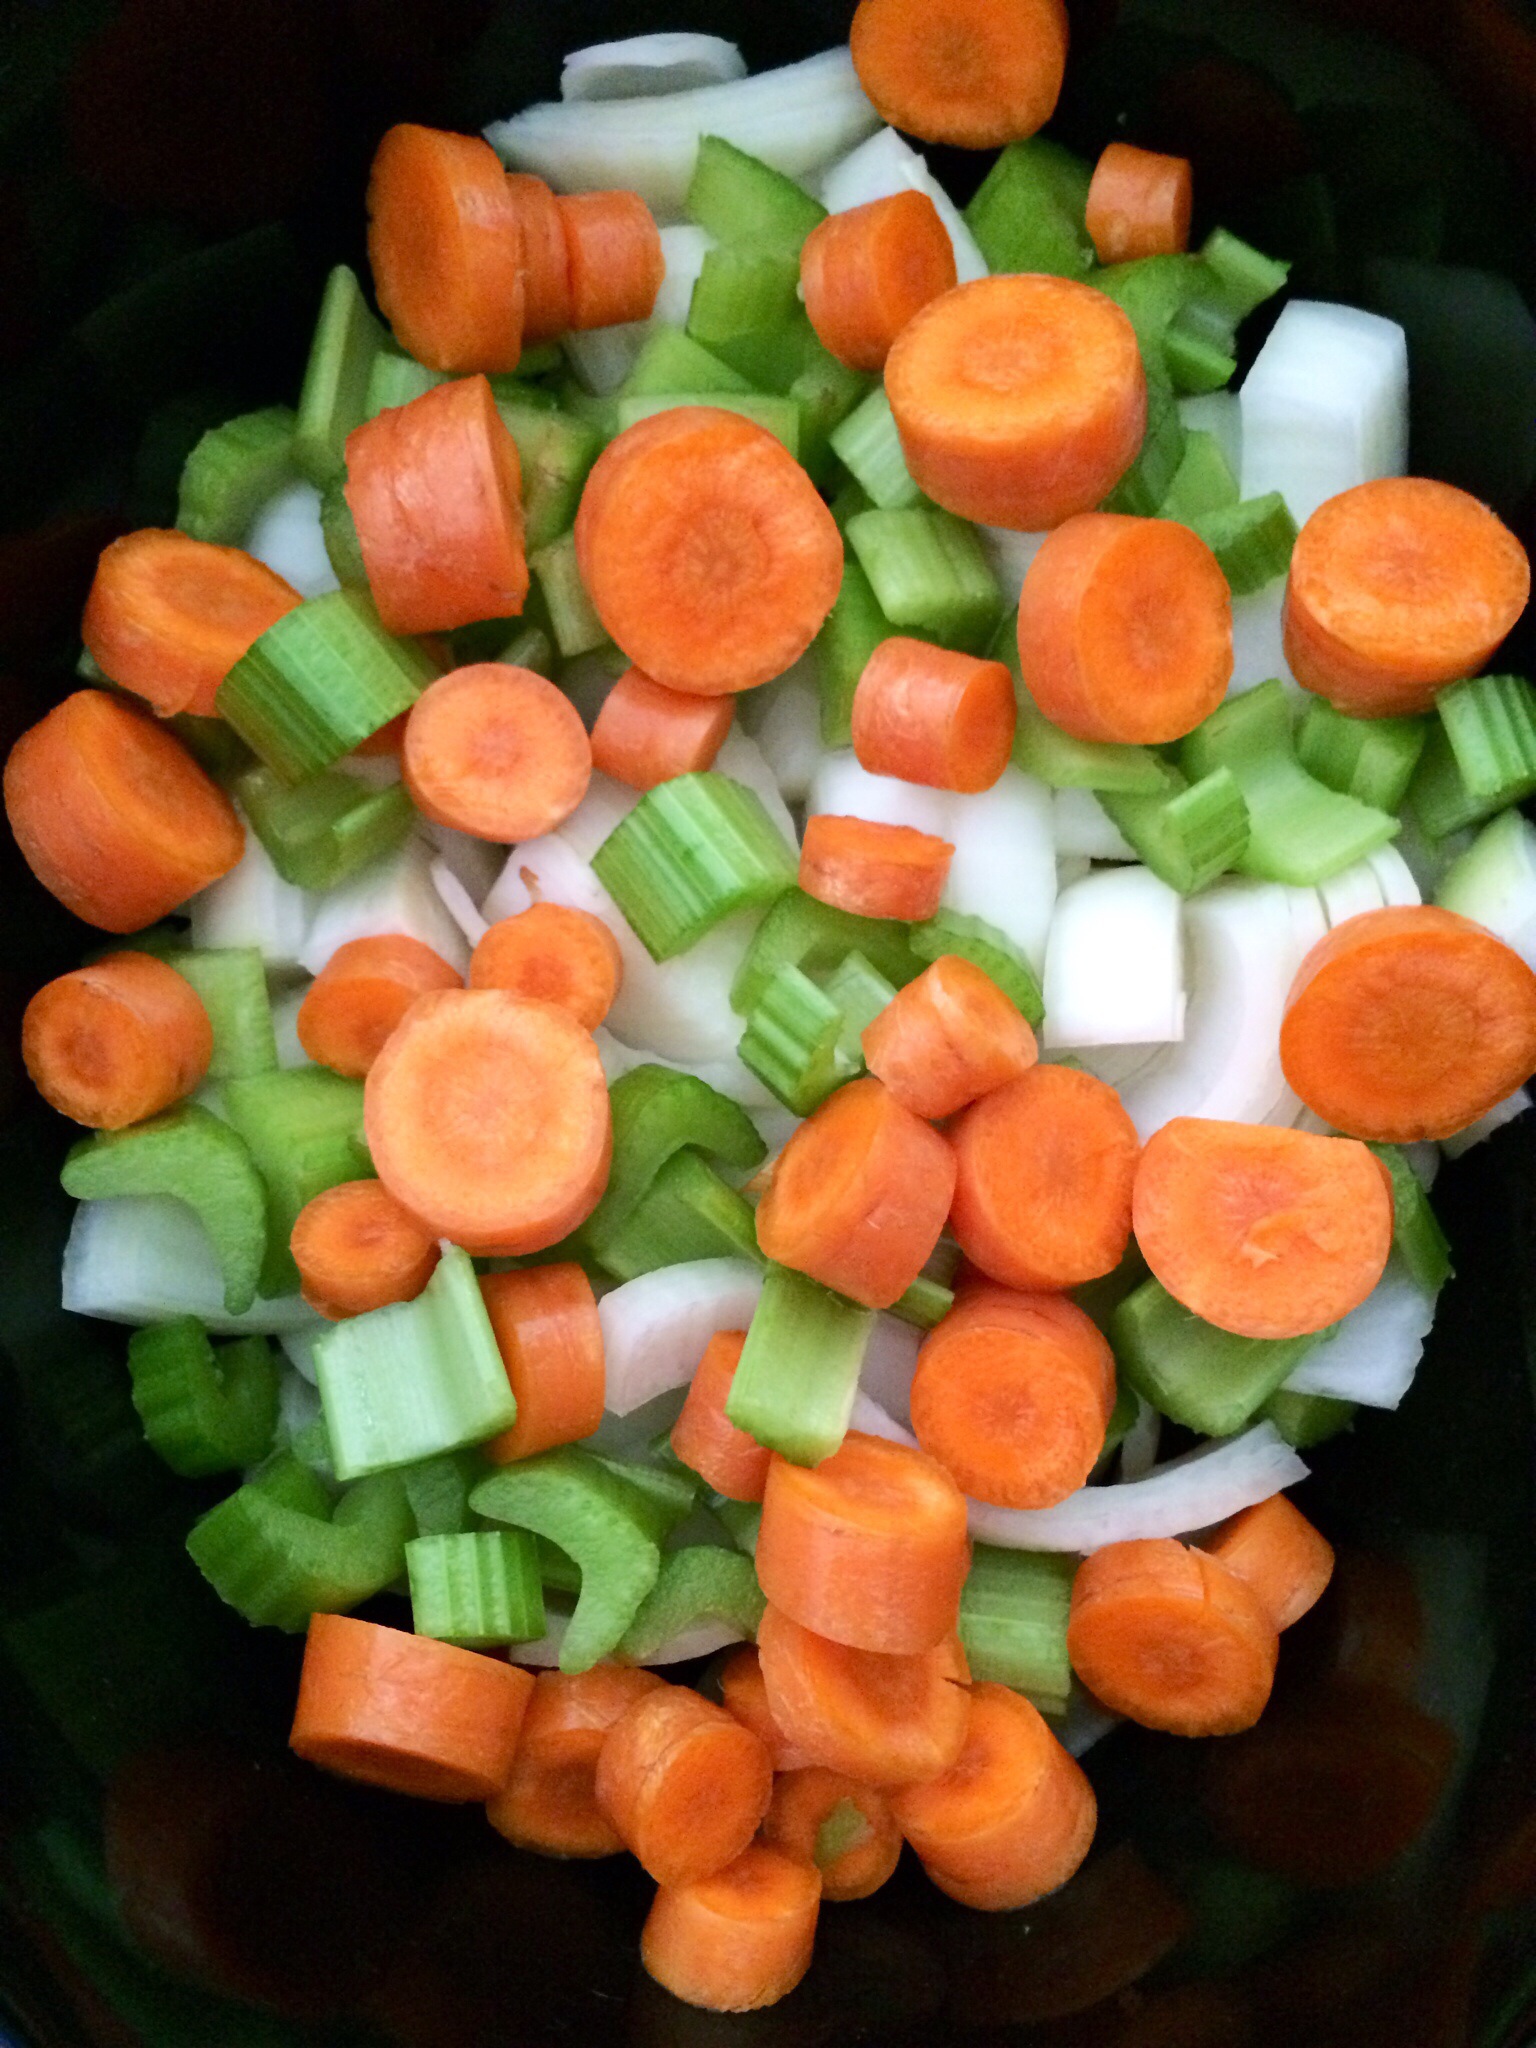
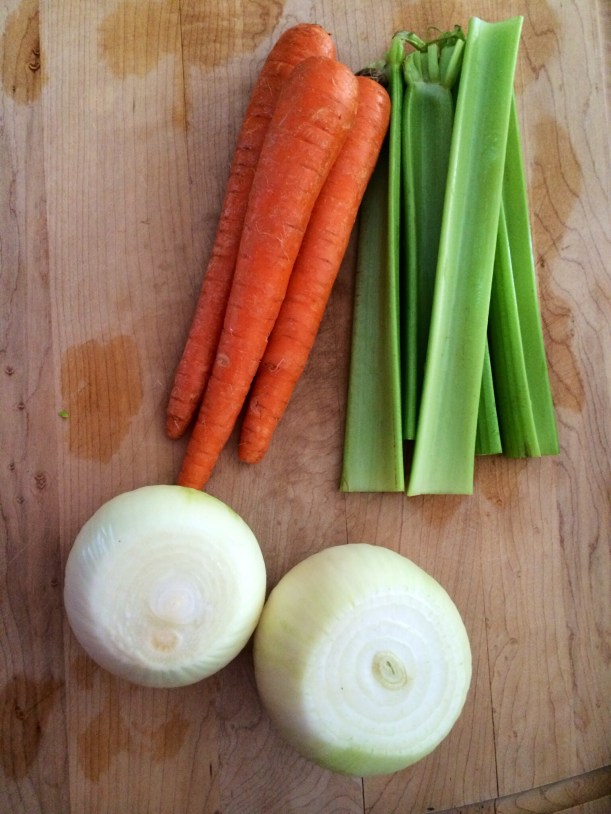
2 medium-sized onions
4 carrots thickly diced
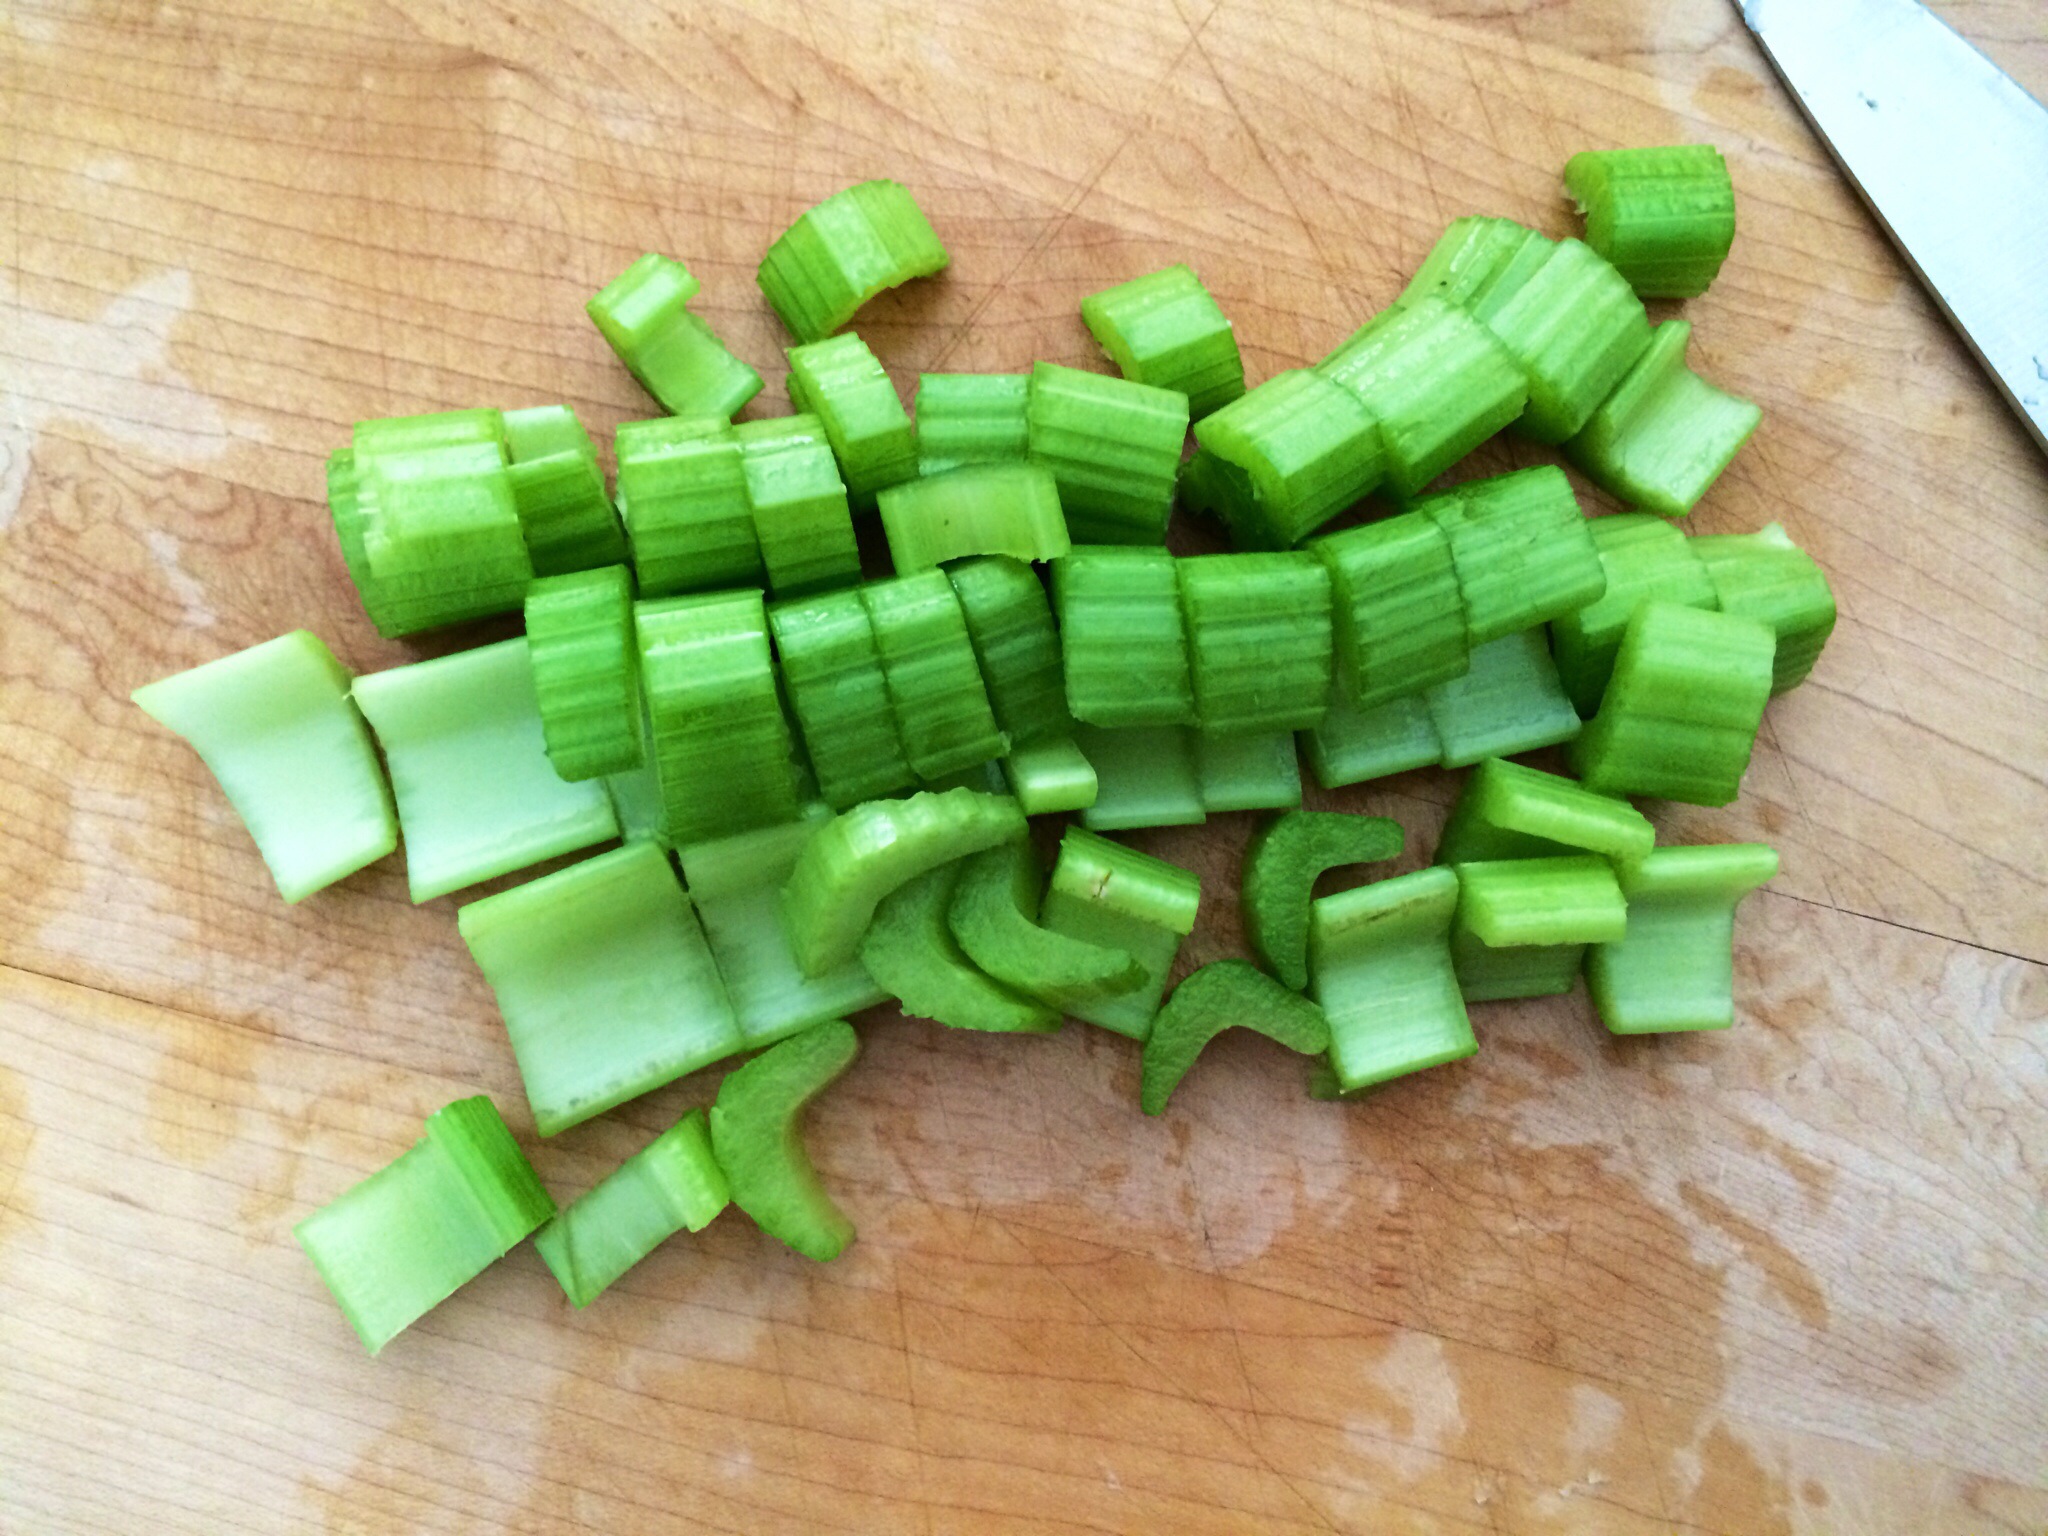
4 celery sticks
3 cloves of garlic
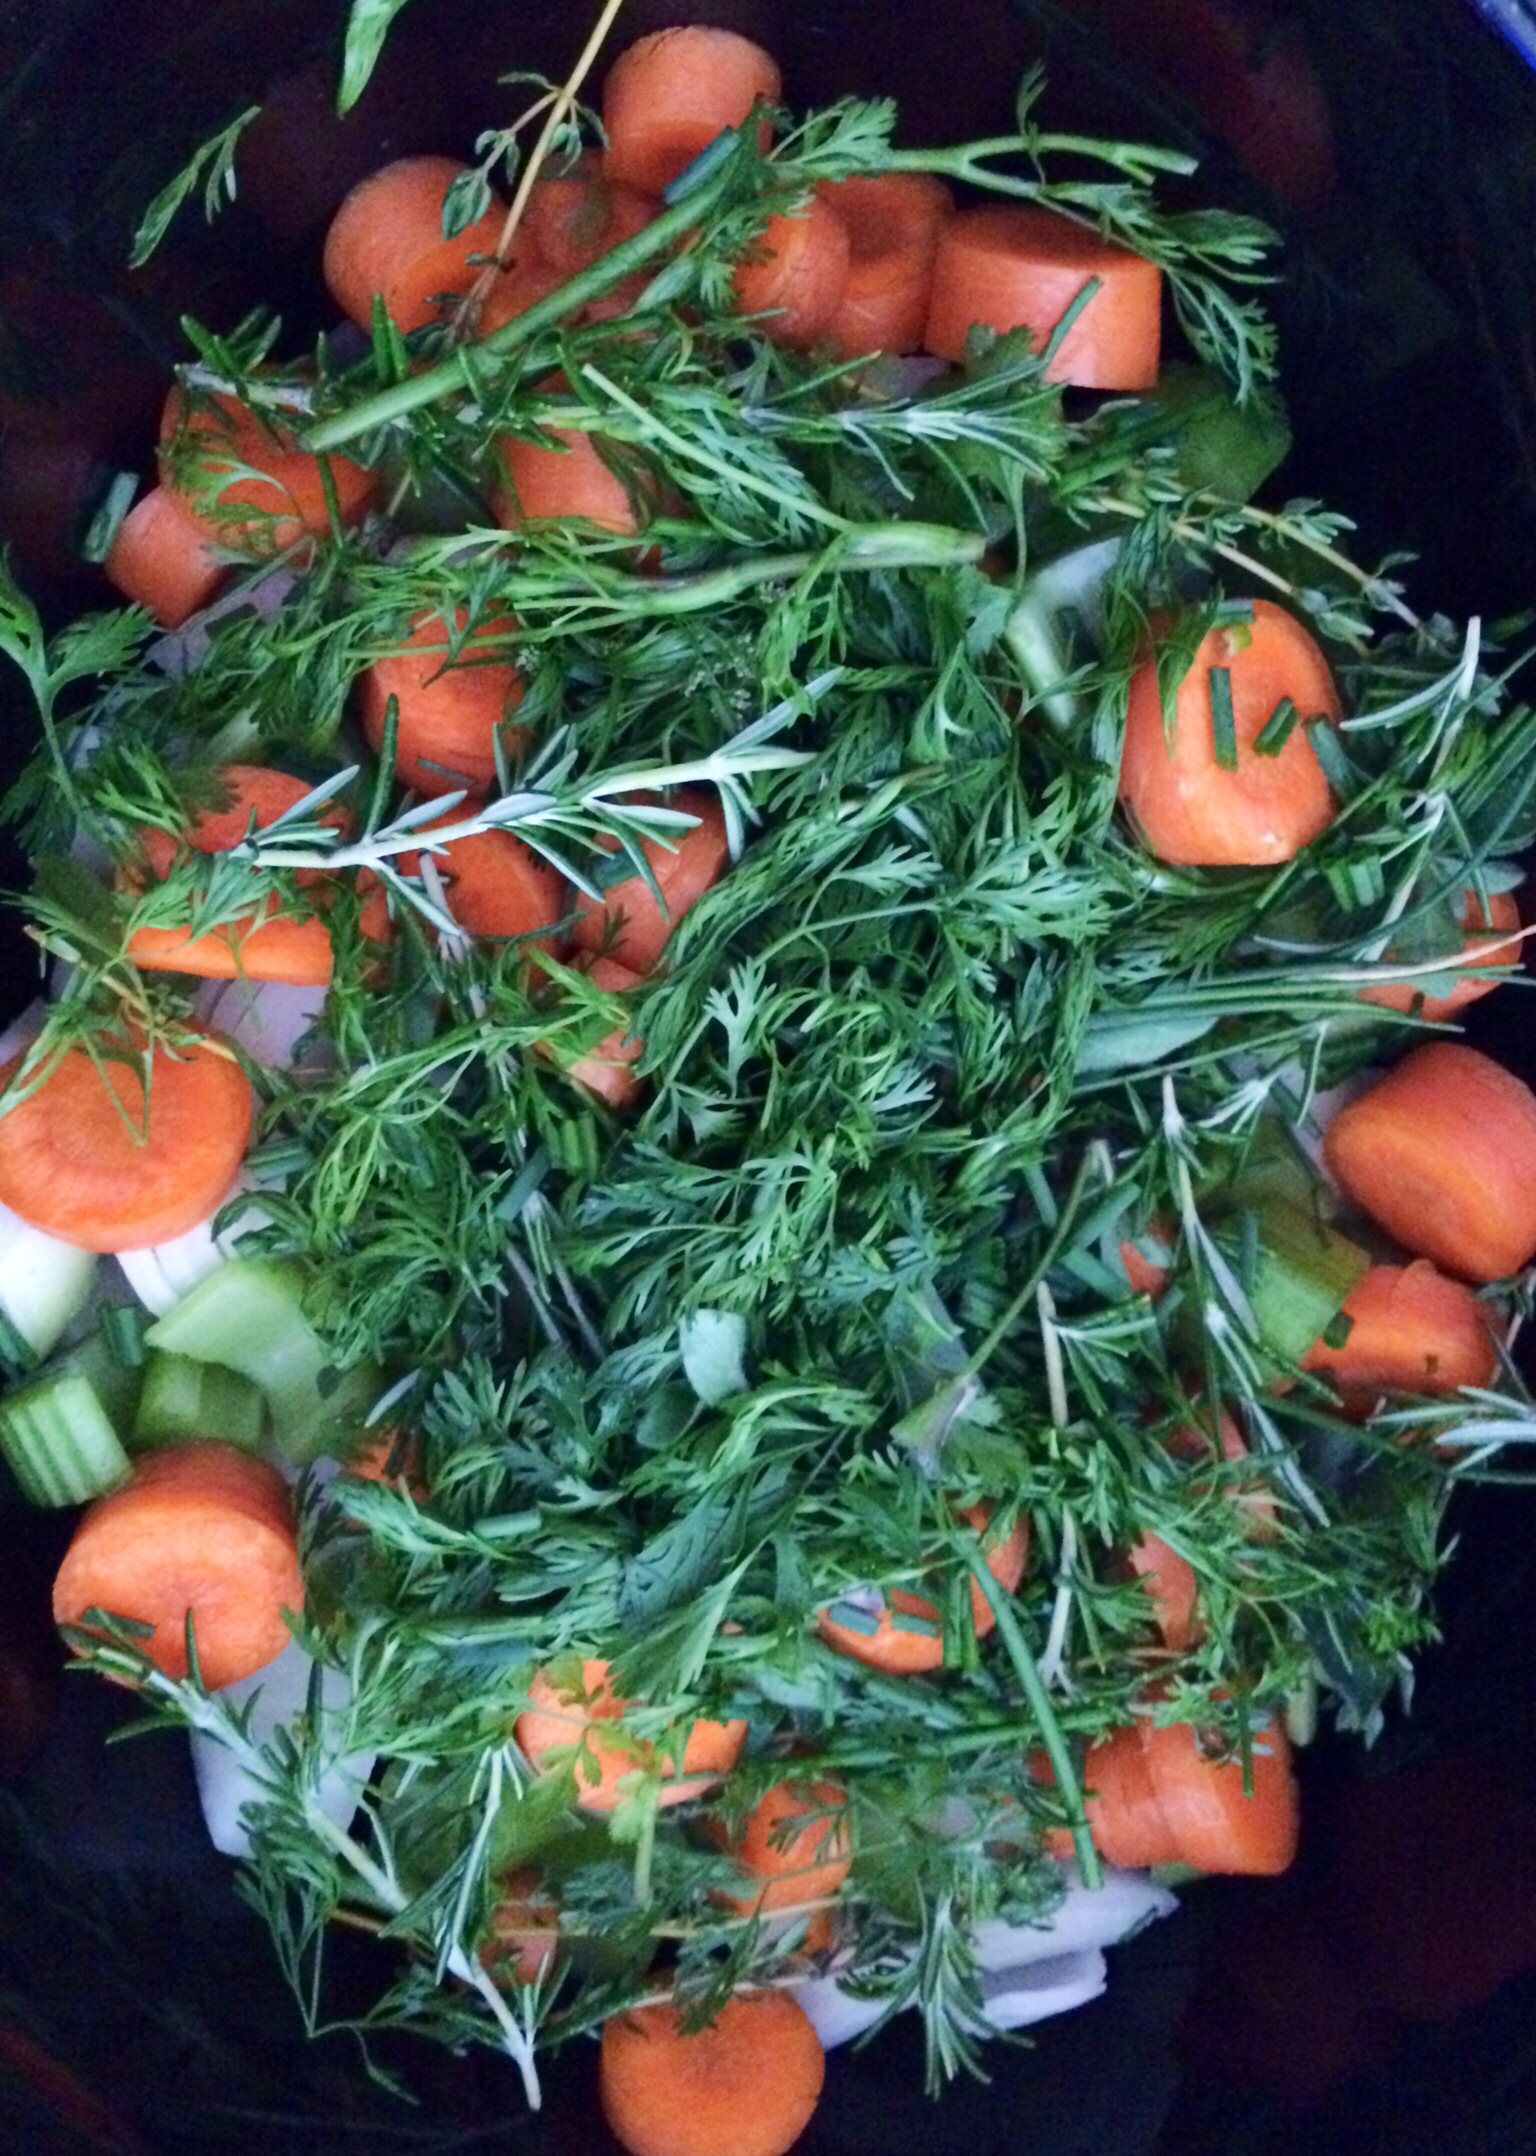
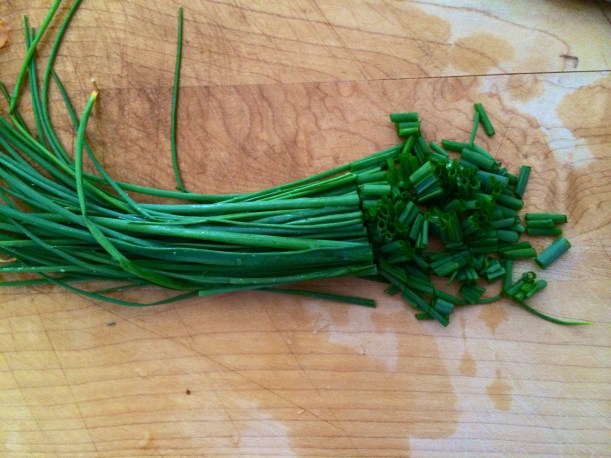
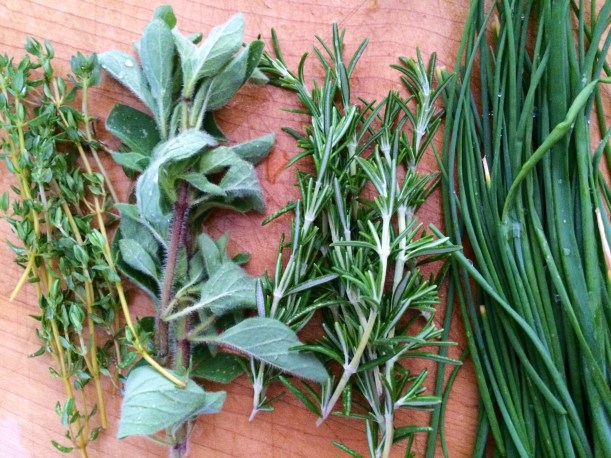
Fresh herbs of choice (we used thyme, oregano, rosemary, cilantro, and chives)
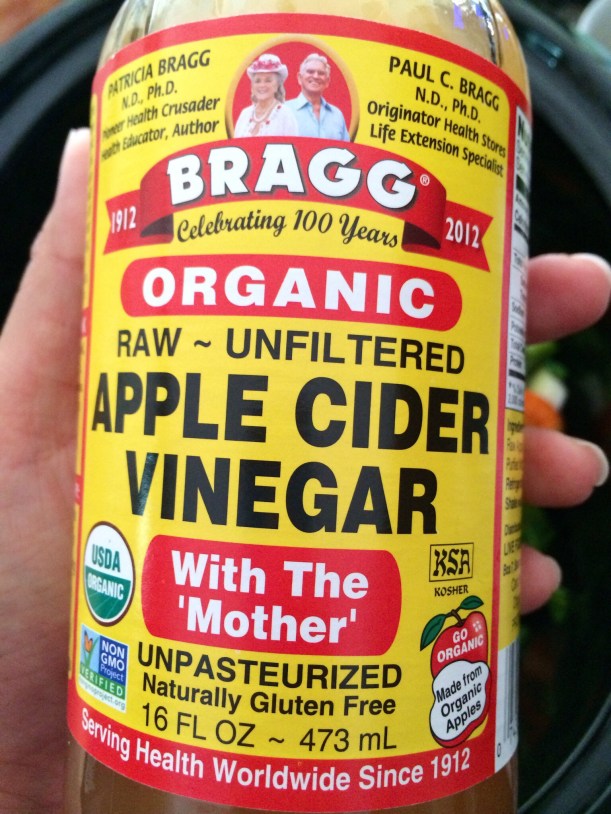
3t Apple Cider Vinegar
1t sesame oil
1t black peppercorns

1. Rinse bones.
2. Preheat oven to 400 degrees.
3. On a foil lined tray, place bones in oven uncovered for 20 minutes. This brings out extra flavor in the bones before simmering!
4. While the bones are roasting, dice vegetables.

20140504-211428.jpg

20140504-211455.jpg

20140504-211526.jpg
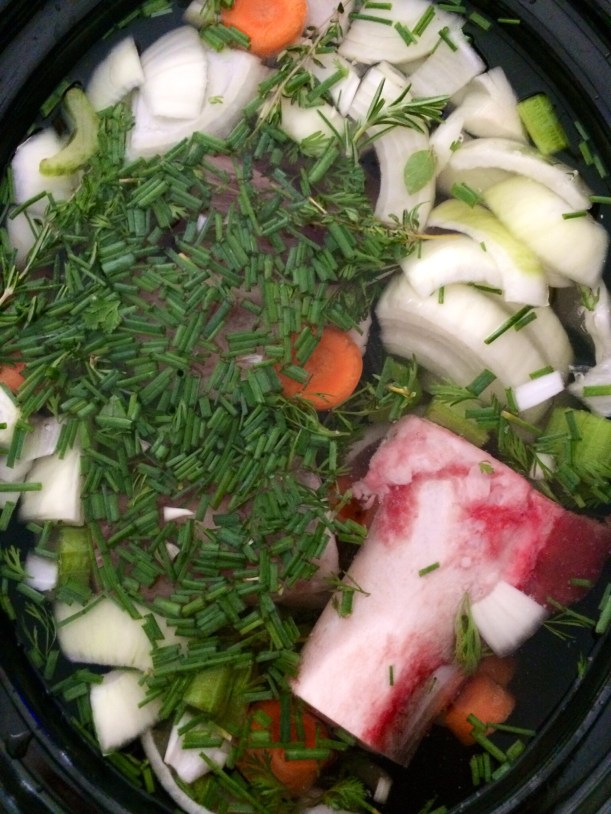
5. After the bones are done roasting, place on the bottom of the crockpot.
6. Add vegetables, garlic and herbs on top of bones.

20140504-211729.jpg

20140504-211831.jpg

20140504-211843.jpg

20140504-211933.jpg
7. Add peppercorns, sesame oil, and apple cider vinegar.

20140504-212032.jpg
8. Cover ingredients with water.

9. Cover and summer on low for 24-48hrs.

20140504-212606.jpg

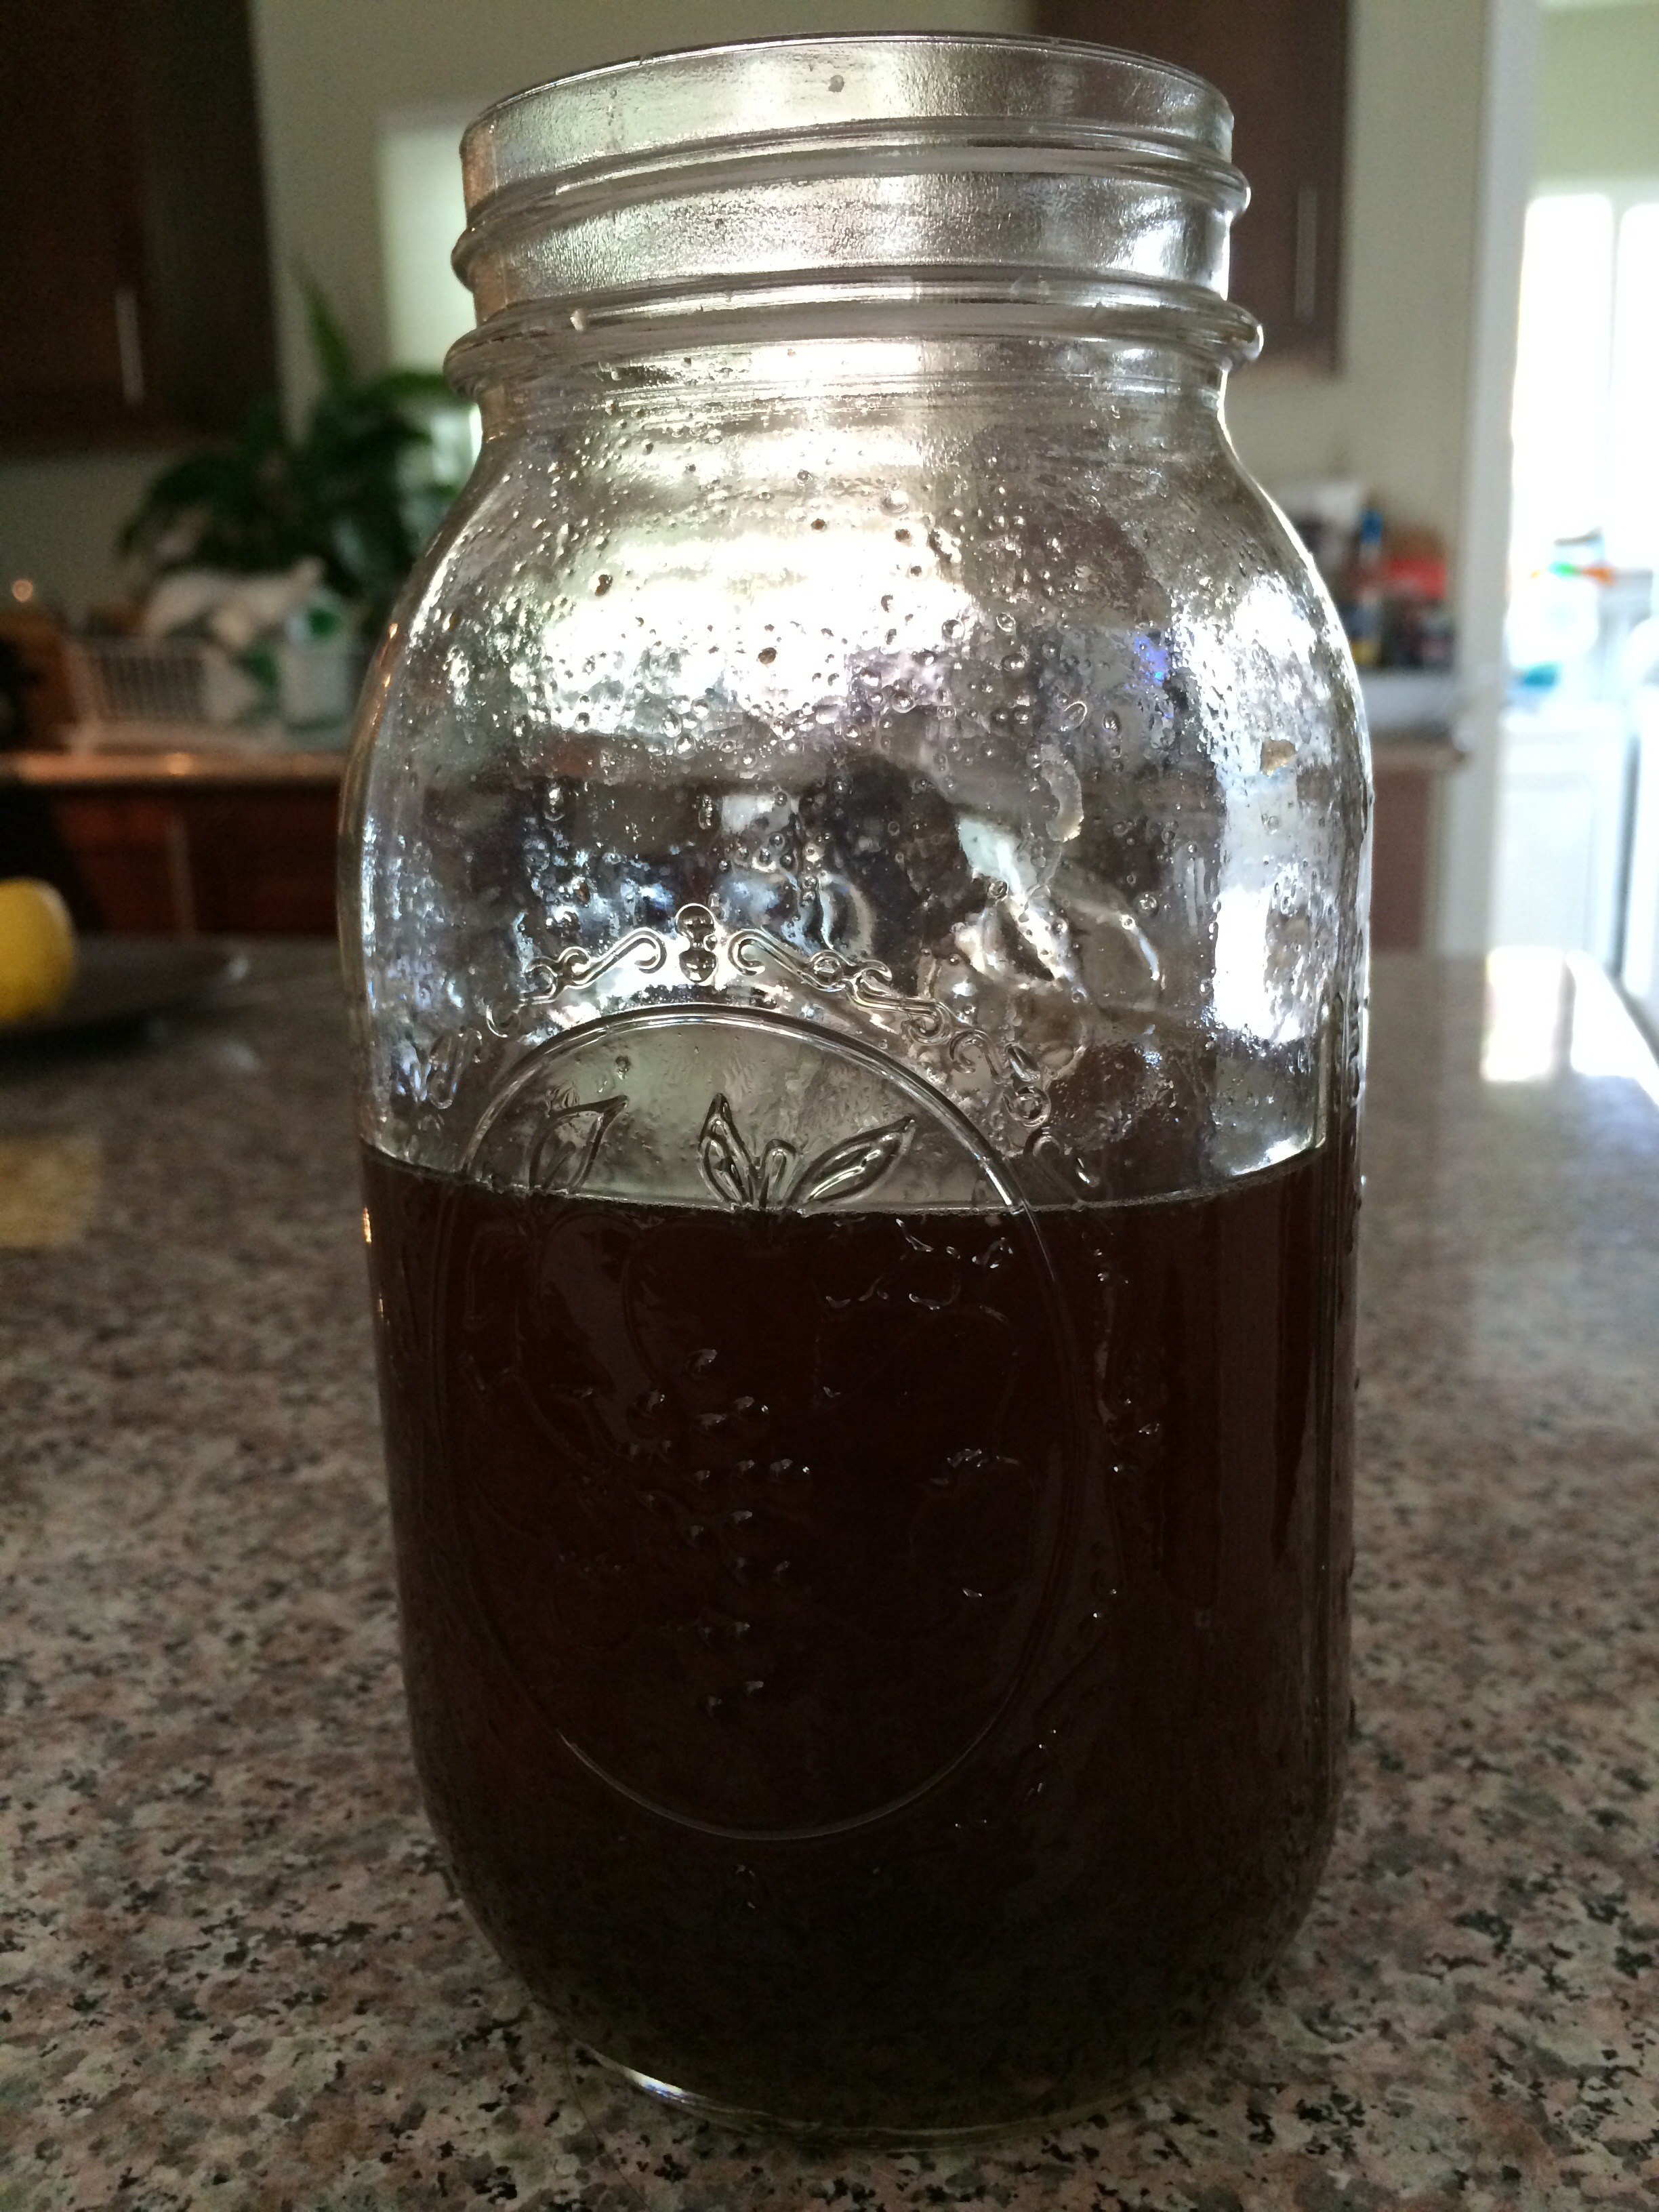
10. Wait until broth cools. Strain. And pour into jars for storage!

Note: If using beef bones, it’s ok to reuse them again. Maximum time for simmering is 72 hours. If using chicken bones, do not simmer for more than 24 hours.

20140504-212803.jpg

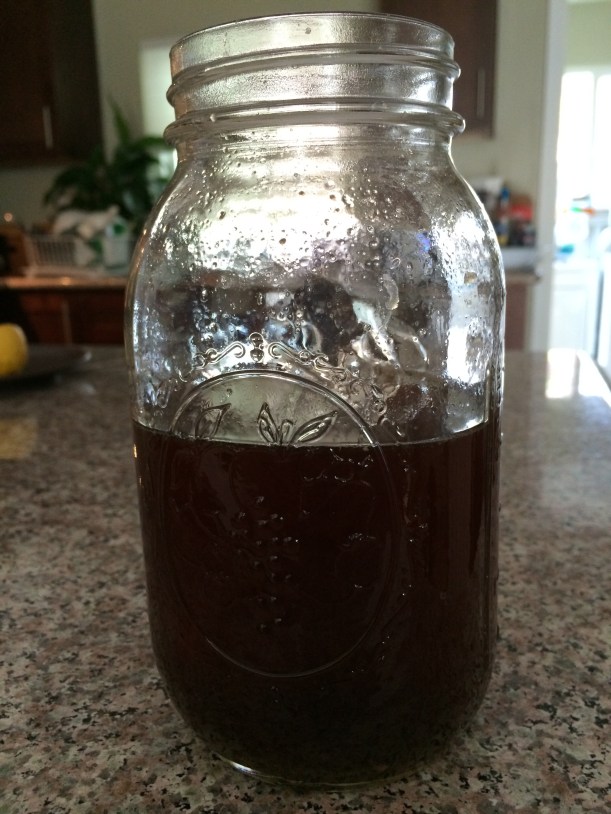
Use an ice tray and freeze the broth for one ounce cubes for cooking!

Add veggies and protein for soups!

Or just drink it straight up. 🙂


4 Comments

Honey Ghee


What is ghee? The most simple way to explain it is clarified butter. It’s great for lactose intolerant people like us to use in cooking, baking and with delicious pastries and bread. You can make this to use in place of butter or oil. In high school, I loved a piece of sourdough toast with honey butter – so now it’s honey ghee instead!

What you’ll need:

4 sticks of unsalted butter
2 tablespoons of raw honey

Ready?

Place the butter into a medium-sized pot on medium heat. Let it slowly melt without stirring.

20140420-180835.jpg

See the foam? Don’t stir yet 🙂 It’s almost done! This should take 12-15 minutes.

20140420-180931.jpg

Grab a small bowl and put it next to your pot. With a spoon, scrape off the foam and put in the bowl. This is the dairy that we don’t need.

20140420-181407.jpg

If you don’t get all of it, don’t worry!

20140420-181447.jpg

Using a fine sieve, cheesecloth or coffee filters, remove the last of the unwanted foam.

20140420-181534.jpg

Once the foam is removed, you have ghee! To make it honeylicious, add the 2 tablespoons of honey to the ghee! Stir until dissolved. If you love sweets, you may want to add more honey!

If you love coconut as much as I do, add 8-10 tablespoons of coconut oil.

20140420-181624.jpg

I’ve also made coconut ghee, honey coconut ghee, lemon zest ghee, orange zest ghee and lavender ghee! Make it your own 🙂

Inspired by a very talented friend’s blog: honeygheeandme.com.


Leave a comment

Flour Substitutions


Good morning! Happy Monday!

Following the previous post of coconut oil cooking spray, I decided to post what we use to substitute white or wheat flour. For the most part, I really try and stick with recipes with the least amount of flour. When I do use flour, I mainly use coconut flour and almond flour. However, using all of one kind, there is a texture difference. If you’re a texture person, try and mix these in, in parts. Always, if combining different types of flours, combine gently and beware of texture.

The coconut flour has a slight coconut flake, grainy texture. It isn’t as smooth as white or wheat flour. Almond flour also has a very nutty flavor that can be overpowering depending on your recipe. Almond flour also does not rise as well either.

Here is what we currently have at home:

20140414-075619.jpg

20140414-075949.jpg

There are also a number of other flours I would like to use. I’m interested because they have a lower amount of carbohydrates, more protein, and more fiber than the average flour. These being:

20140414-080032.jpg

20140414-080039.jpg

20140414-080723.jpg
(Also called Garfava flour – silly name, isn’t it?)

Use these in baking, thickening up sauces, and coating/baking your protein. Choose your flour substitute wisely based on your needs and tastes. For instance, I will commonly mix 1/3 equal parts of wheat, almond and coconut flour in my carrot spice bread.

Don’t forget, these flours are also great for treats for your pets! Check out this link for more information.

Diabetic Living: Flour Substitutions!


Leave a comment

Dairy-Free Cottage Cheese


I can’t honestly remember the last time I’ve had cottage cheese since I’ve become lactose intolerant 13 years ago. I came across this Lactaid Cottage Cheese at the local market and I was so excited! This is a great substitution if you love lasagna but can’t have the mass amount of cheese it has. We can use this for a ricotta cheese substitution or even a creek cheese substitution in baking recipes. What a great find!

20140330-115929.jpg

Vegan Cheesecake – say whaaaat?

2 Comments


vegan-yums:

Easy Vegan Cheesecakes / Recipe

Yes please.

This gallery contains 2 photos